Chat
Introduction
The "Chat Creation" feature allows users to design and customize chat tools within the application. This feature is valuable for creating personalized chat interfaces that can enhance user interaction and communication. It addresses the need for tailored chat solutions that can be easily managed and deployed. Use this feature whenever you need to create a custom chat tool with specific functionalities.
Getting Started
Begin by navigating to the following URL in your browser: https://sai-library.saiapplications.com/designer. Ensure you are logged into the application and have access to the tool creation section.
Procedure
Step 1: Access the New Tool Option
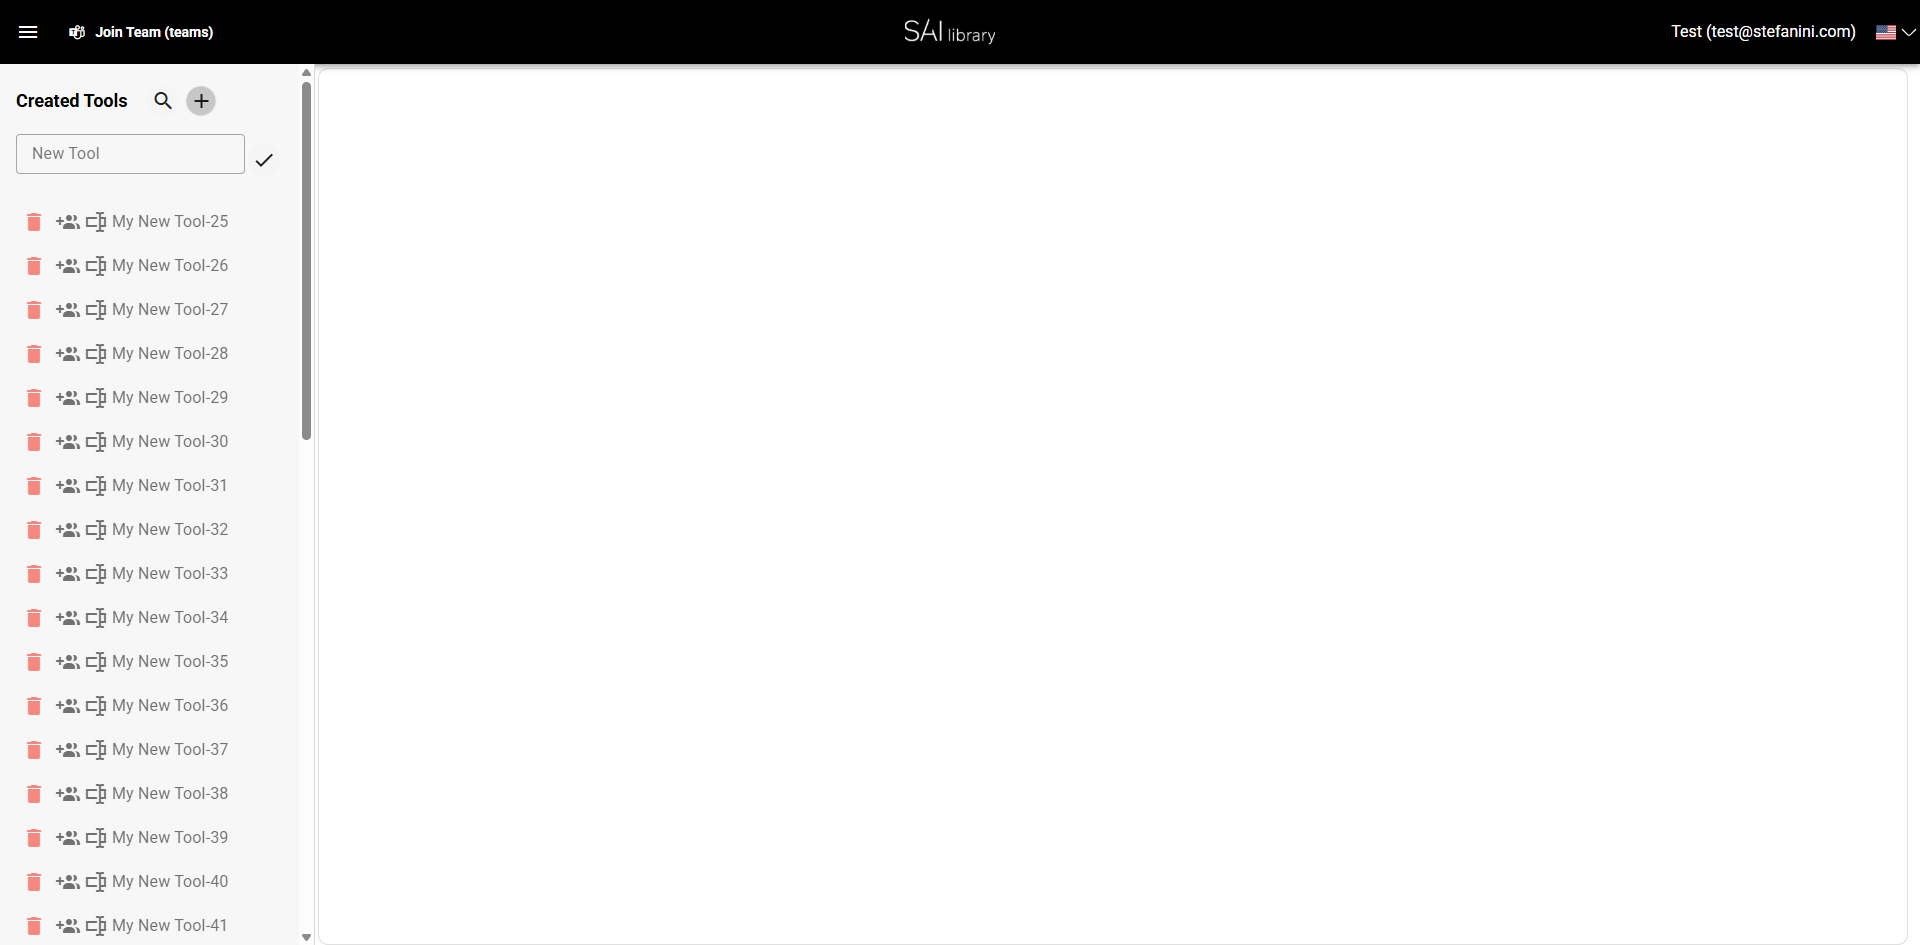
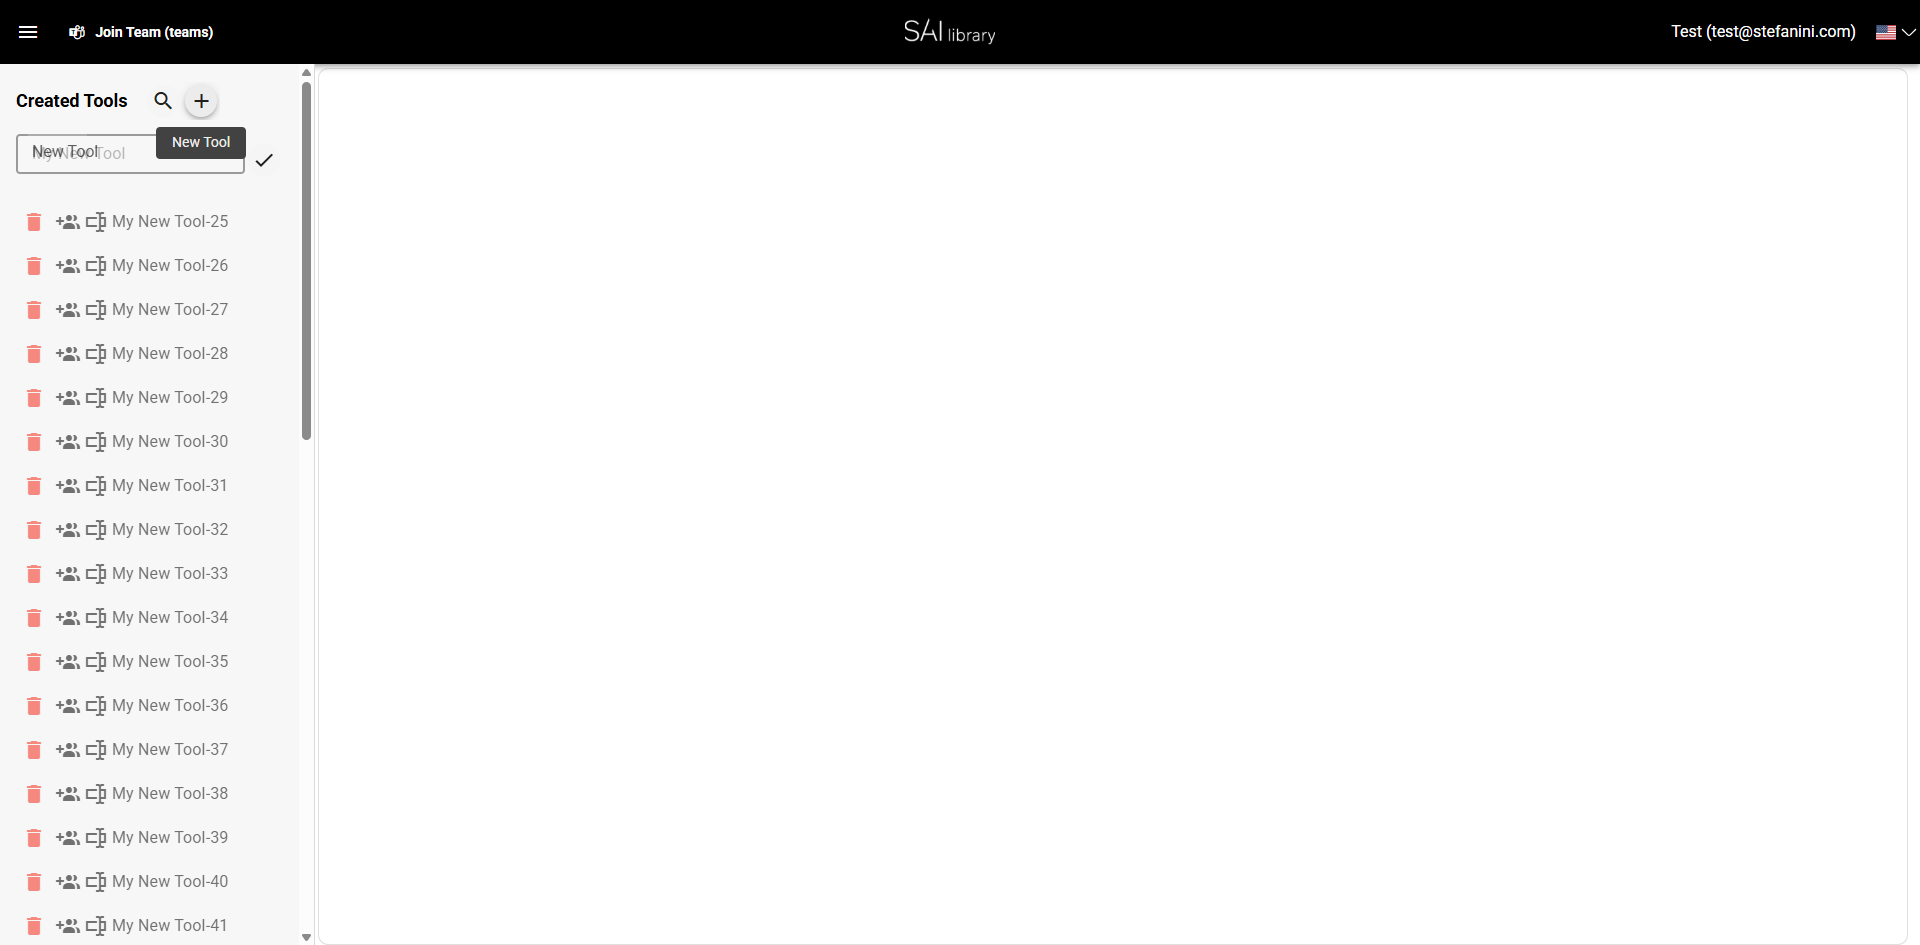
To start creating a new tool, click the add-new-tool button next to "Created Tools."
By clicking this button, you'll initiate the process to create a new tool.
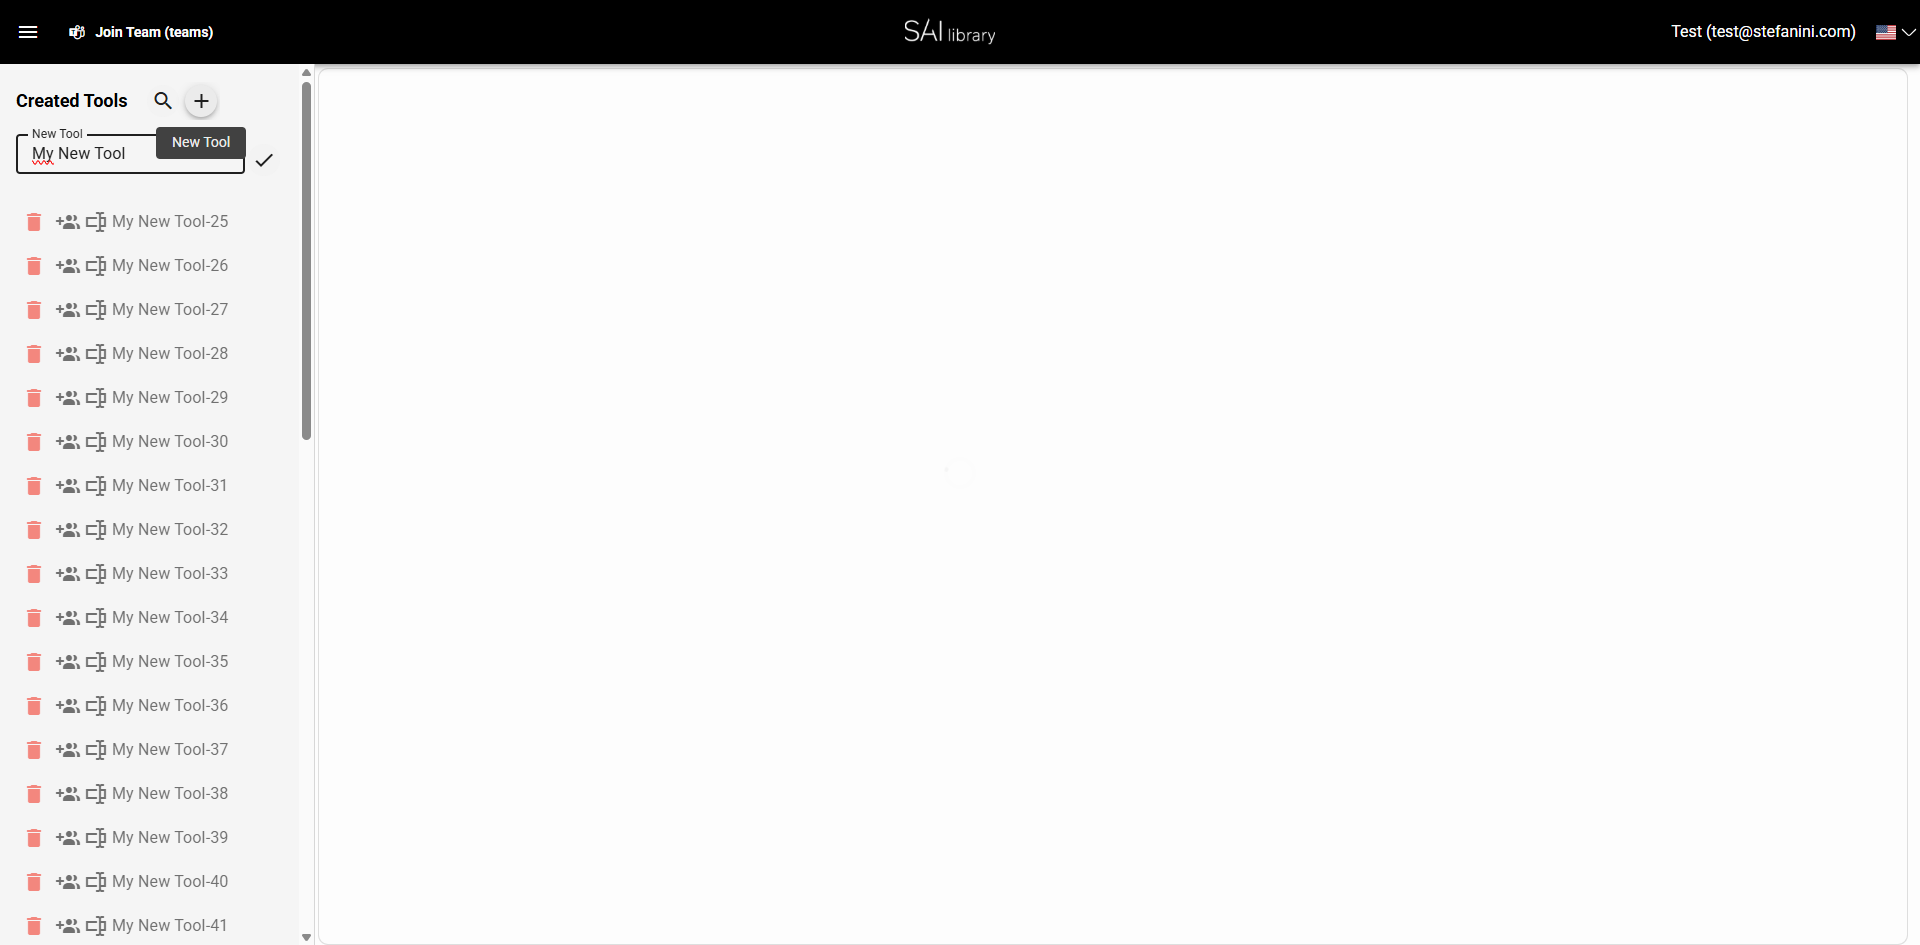
Step 2: Enter Tool Name
In the visible text input field, type "My New Tool" to name your new tool.
This step is crucial as it sets the identifier for your tool.
Step 3: Confirm Tool Name
Click the confirm button to save the tool name.
This action saves the entered tool name.
Step 4: Select Tool Type
Click on the select type and choose the option "Chat" from the dropdown menu.
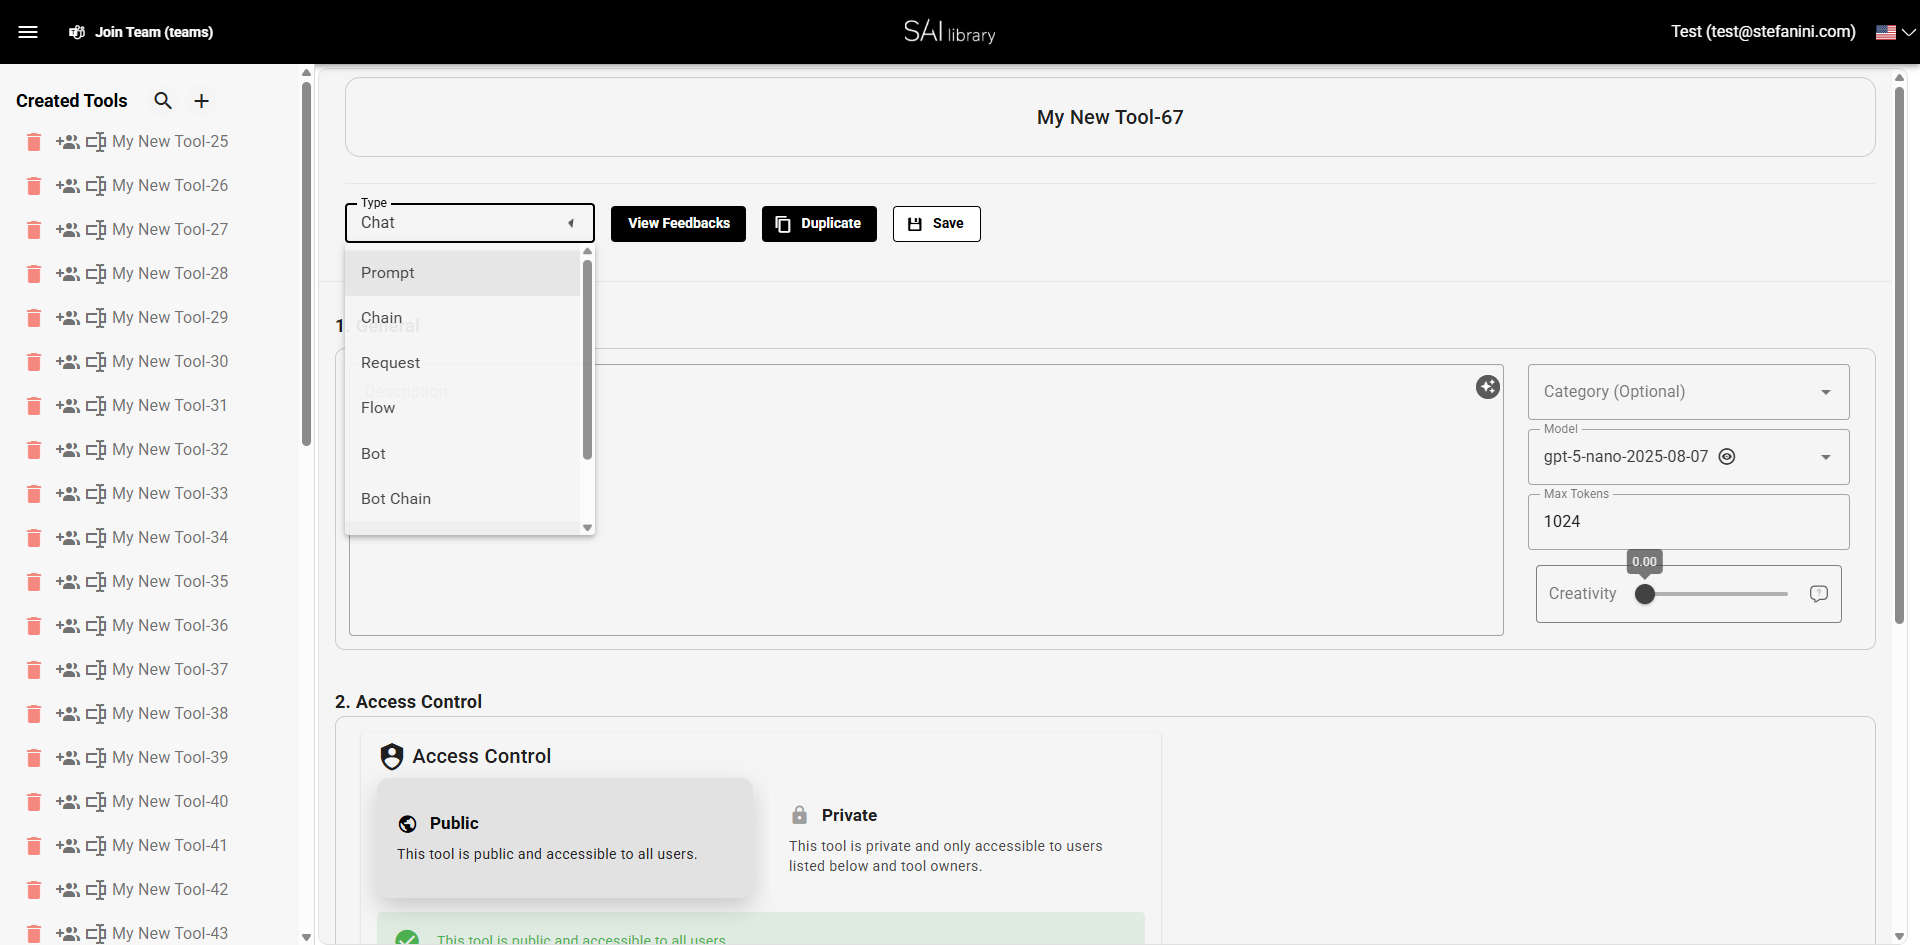
Selecting "Chat" configures the tool specifically for chat functionalities.
Step 5: Add Description
Type "This is a test description" in the Description field to provide details about your tool.
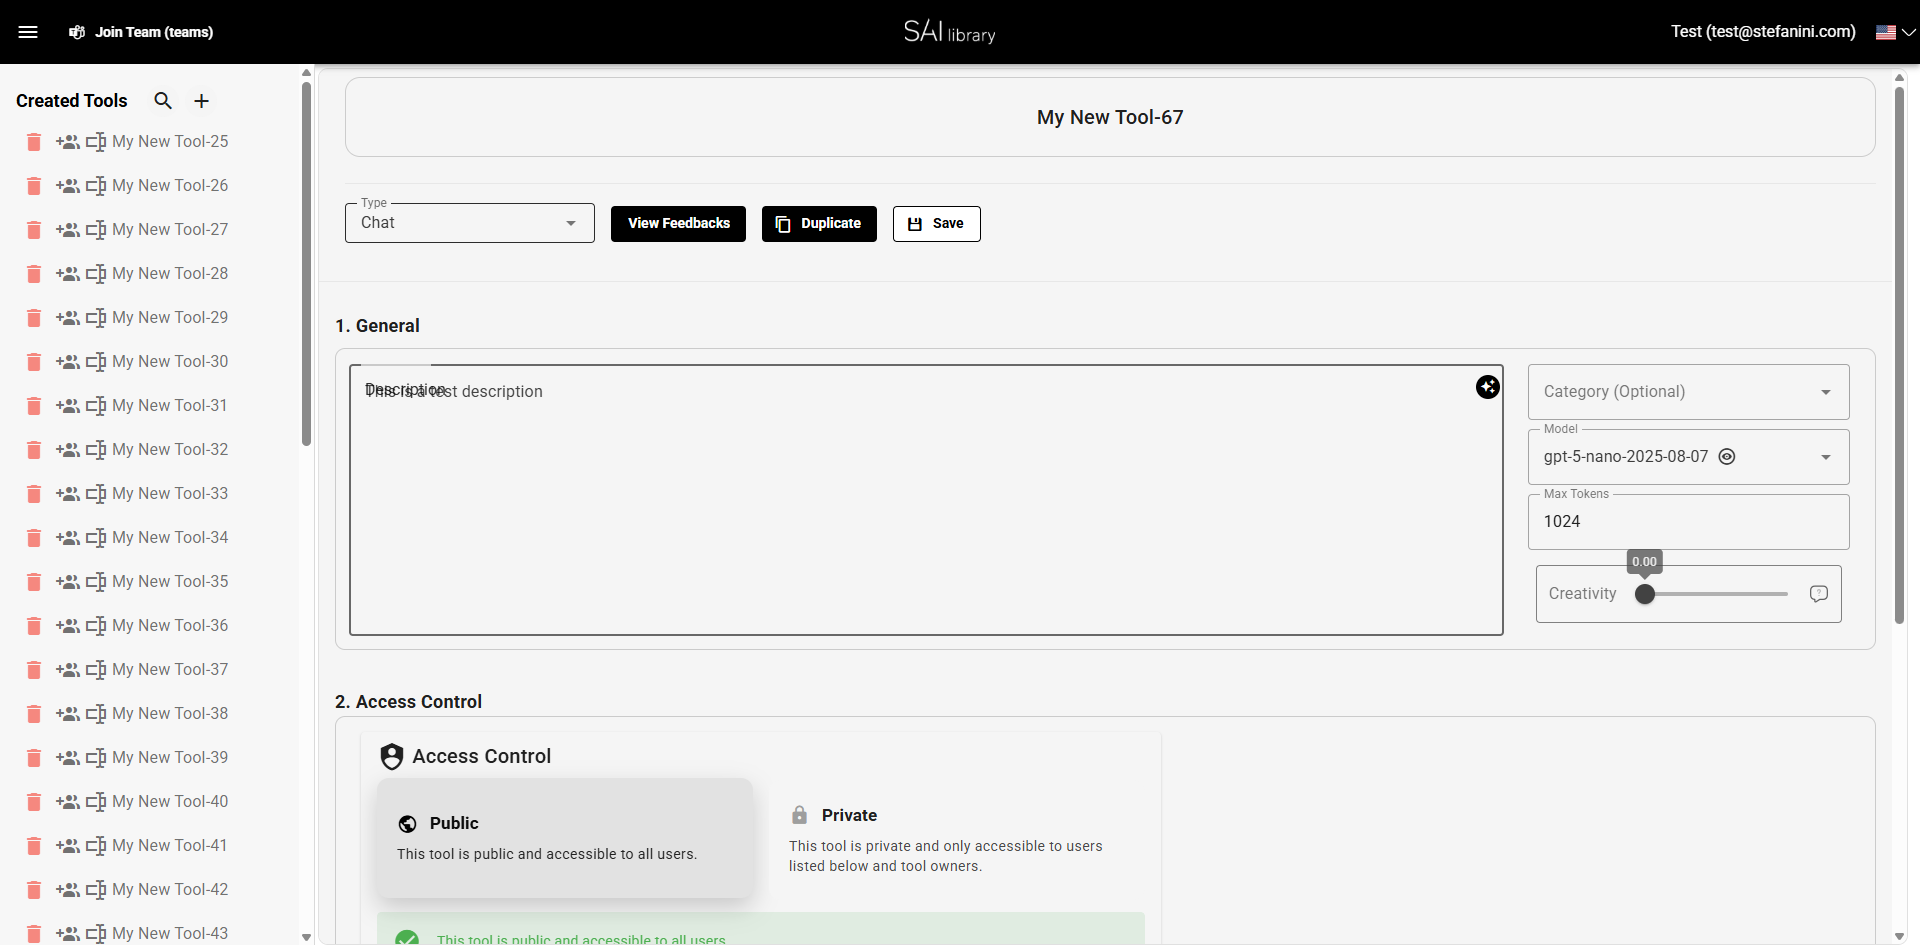
A description helps clarify the tool's purpose and functionality.
Step 6: Review General Section
The General section allows you to configure various settings for your tool:
- Type: Ensure it's set to "Chat."
- Description: Verify the description is accurate.
- Model Settings: Adjust based on your requirements (e.g., Max Tokens, Creativity).

💡 Tip: Use descriptive names and detailed descriptions to make tool management easier.
Step 7: Configure Access Control Section
In the Access Control section, you can set who has access to the tool:
- Public: Accessible to all users.
- Private: Restricted access to specified users and tool owners.
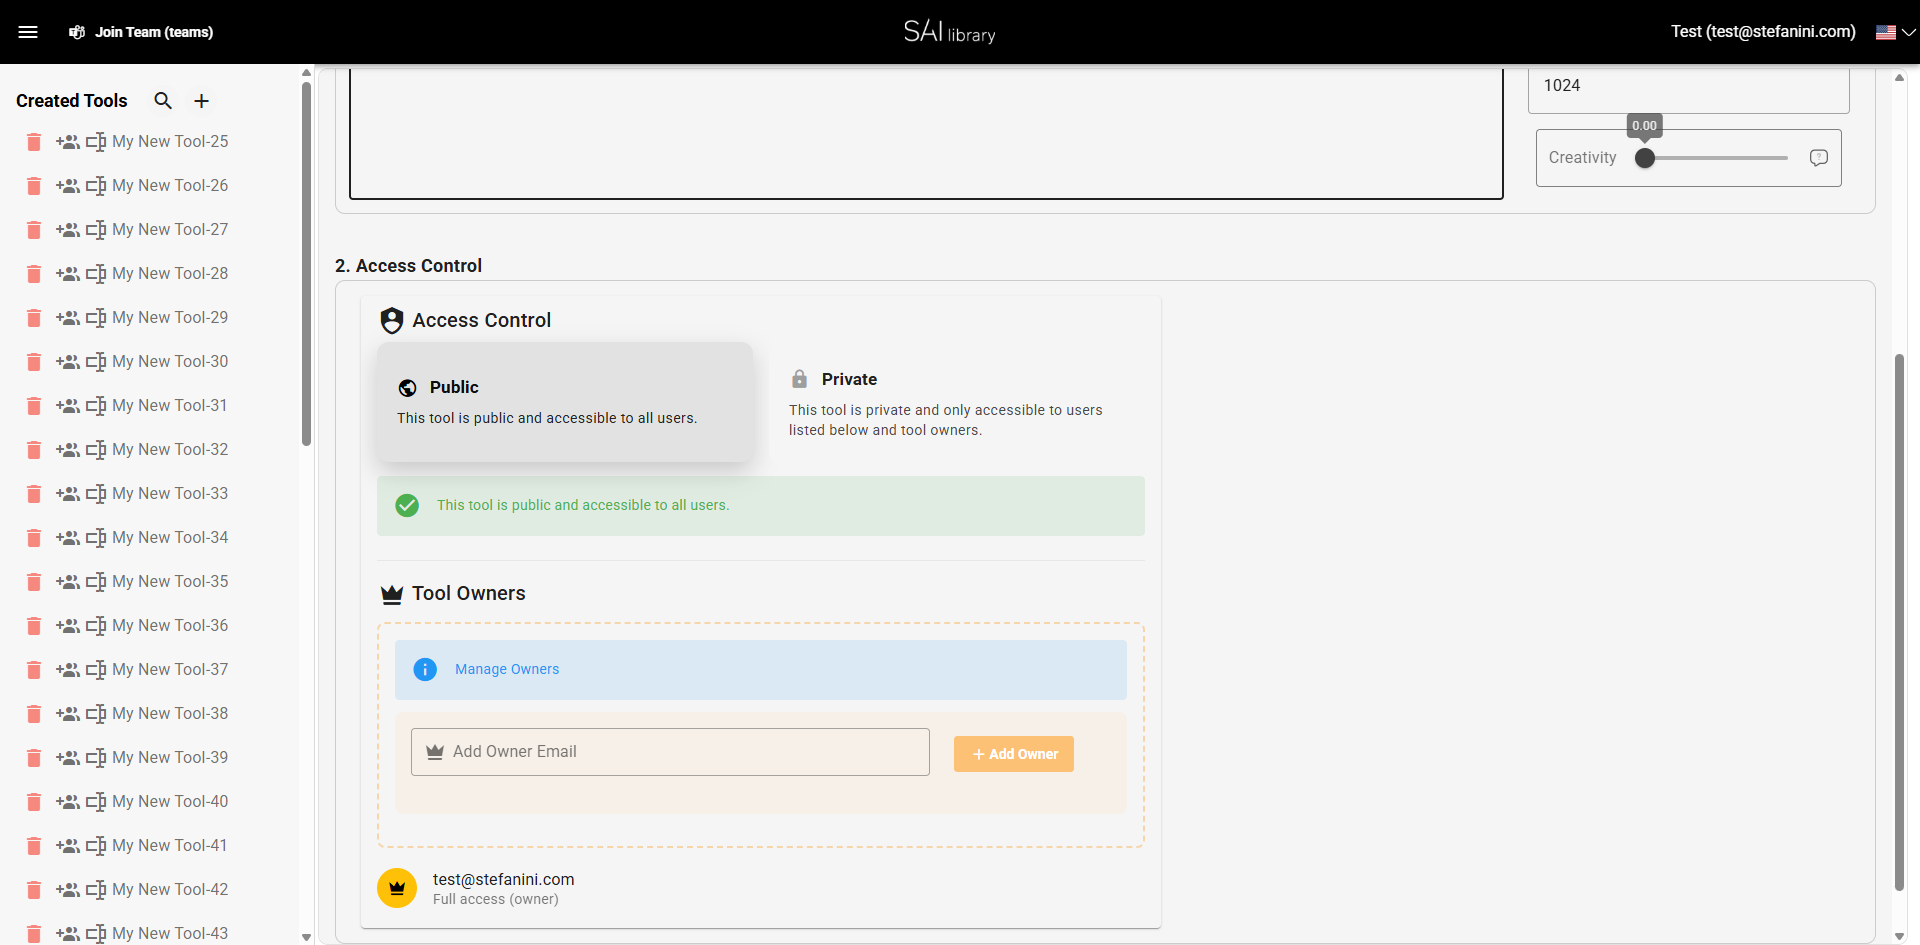
⚠️ Note: Choose the access level carefully to ensure appropriate visibility and security.
Result
After completing these steps, you will have successfully created a new chat tool named "My New Tool" with a defined description and access settings. The tool is now ready for further customization and deployment as needed.