Workspace
Using Workspace
Navigate to Workspaces Page
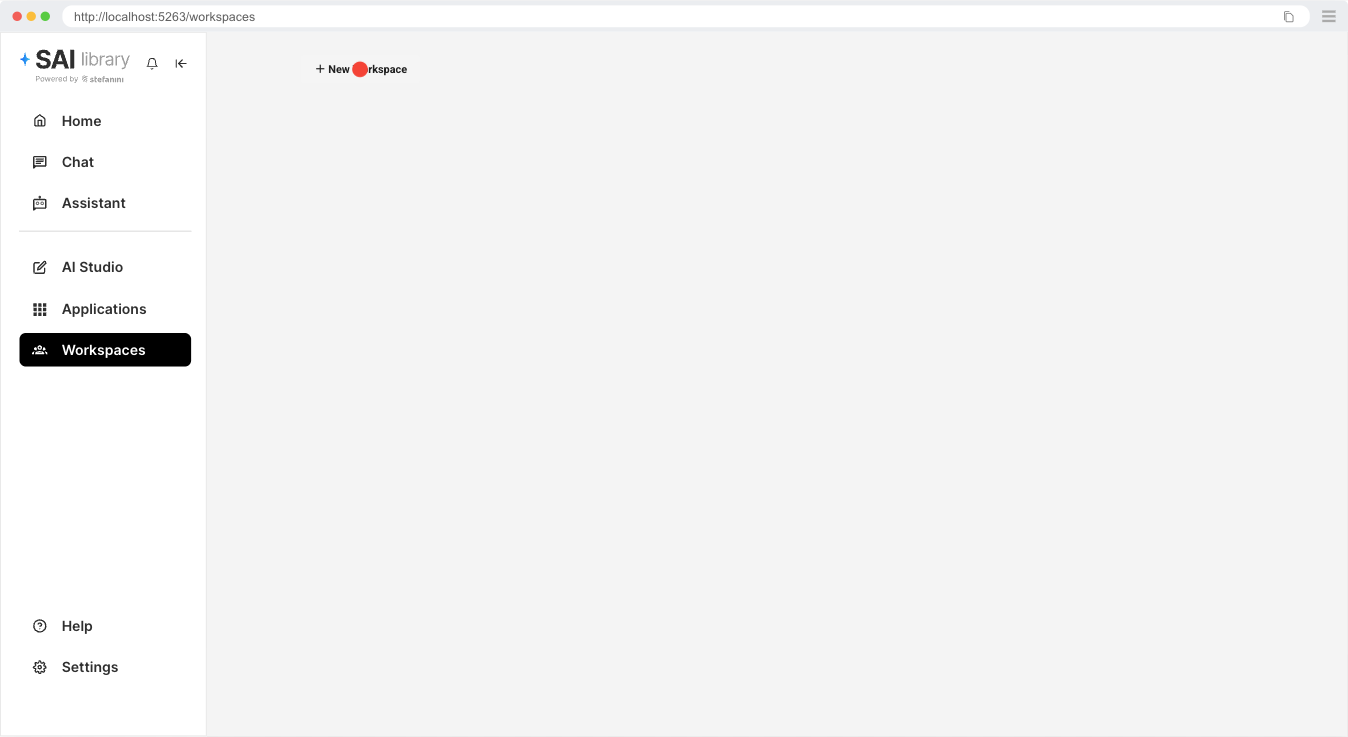
To begin using Workspaces, navigate to the Workspaces page at https://sai-library.saiapplications.com/workspaces

Create a New Workspace
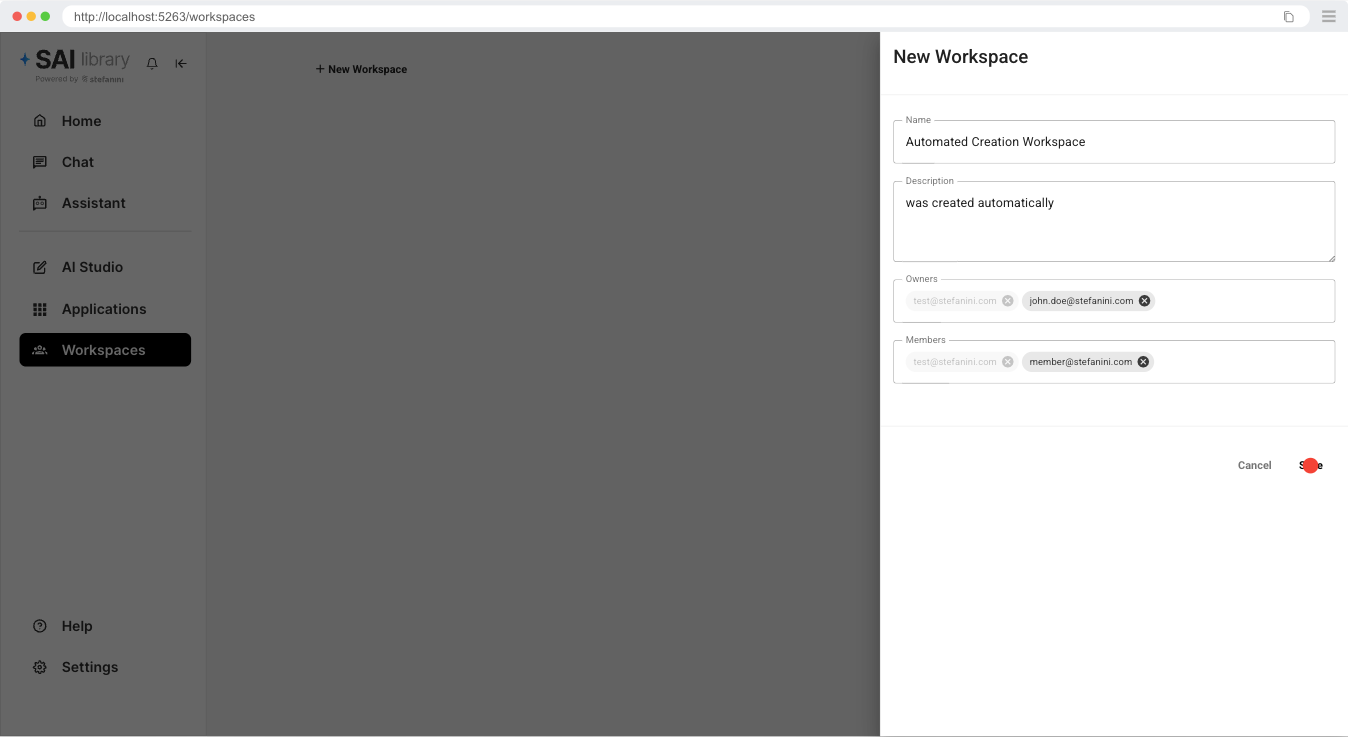
Click on the "New Workspace" button to open the workspace creation dialog.
Fill the information and click on save.
Access the Workspace
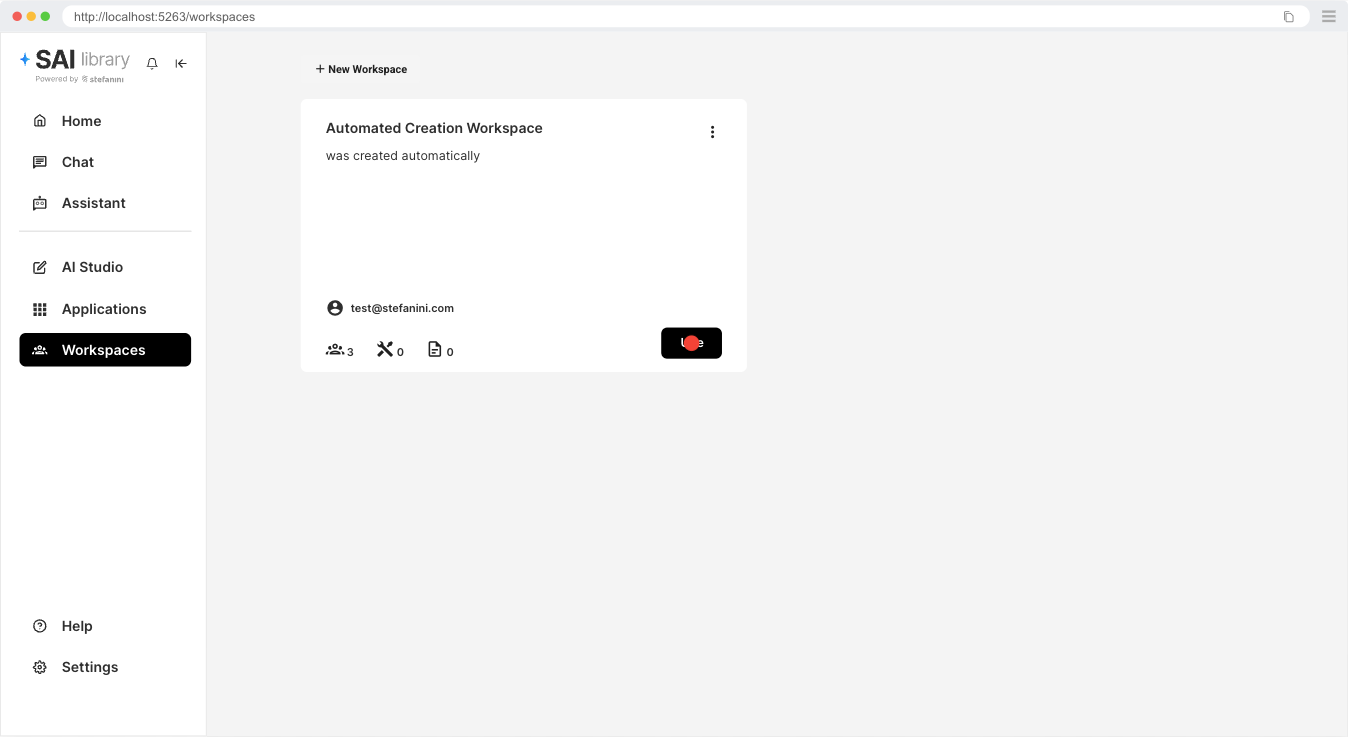
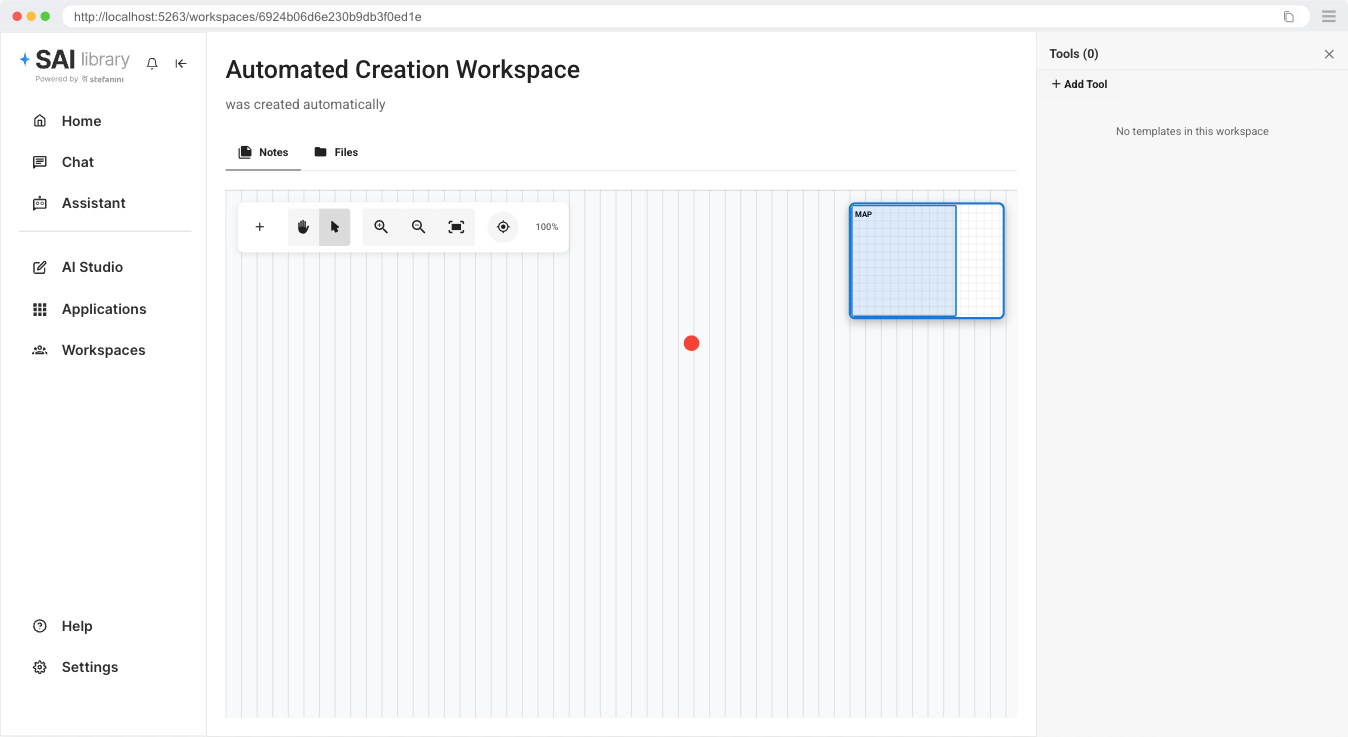
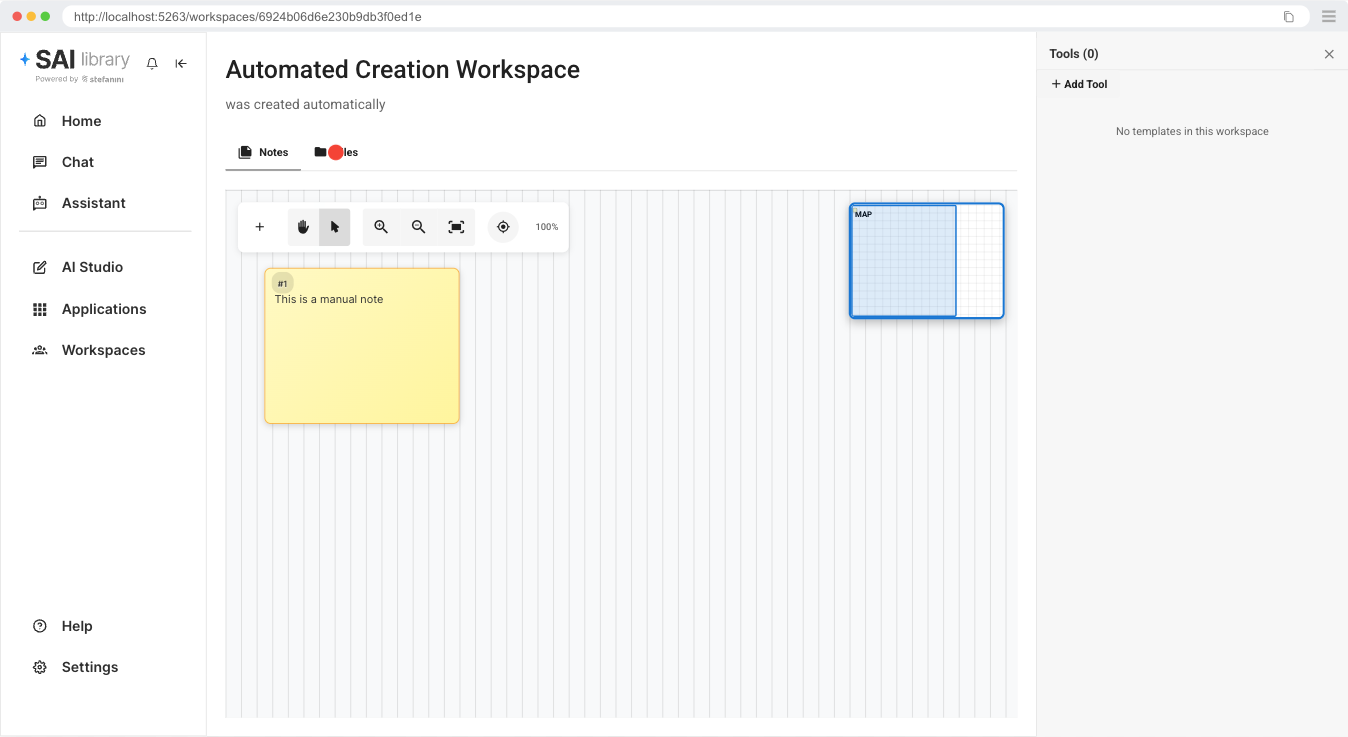
Once created, click the "Use" button to enter and start working in your new workspace.
You will see this screen.
Creating Workspace Notes
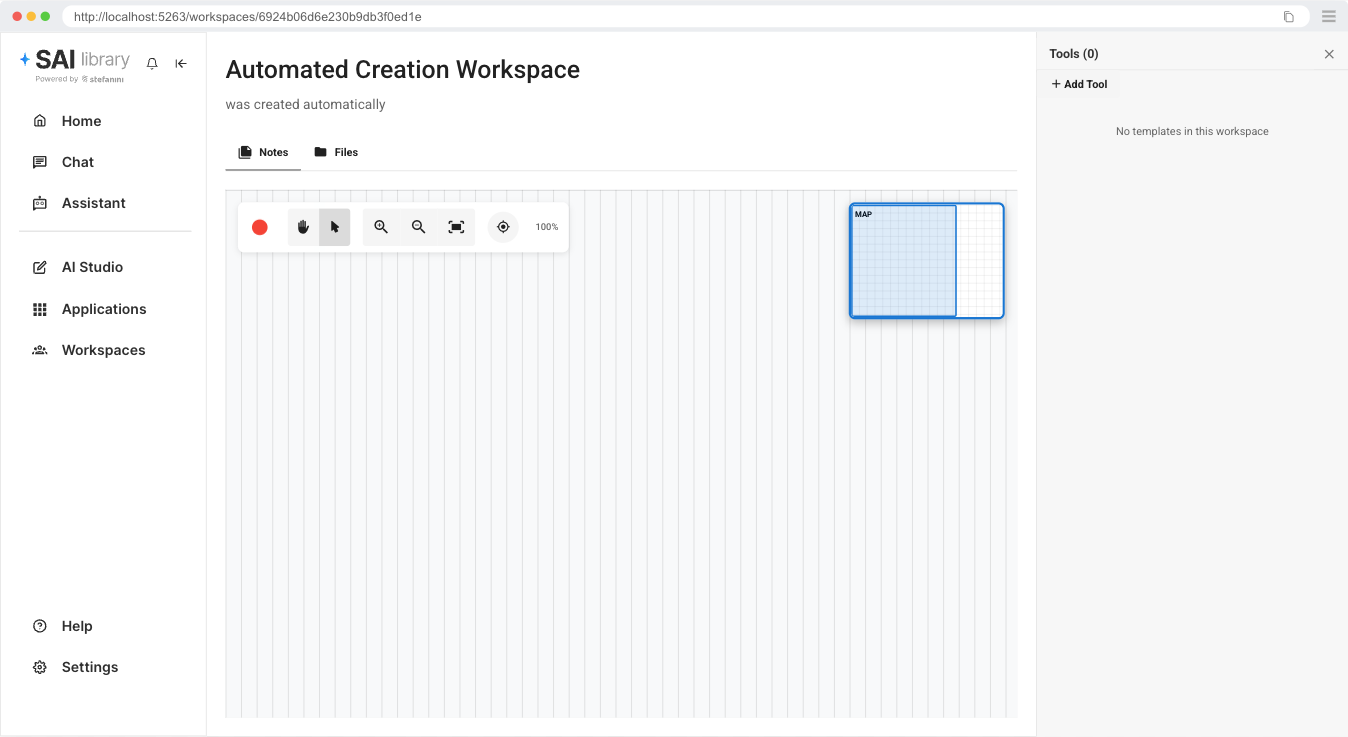
Click on the "+" button in the notes area to create a new note.
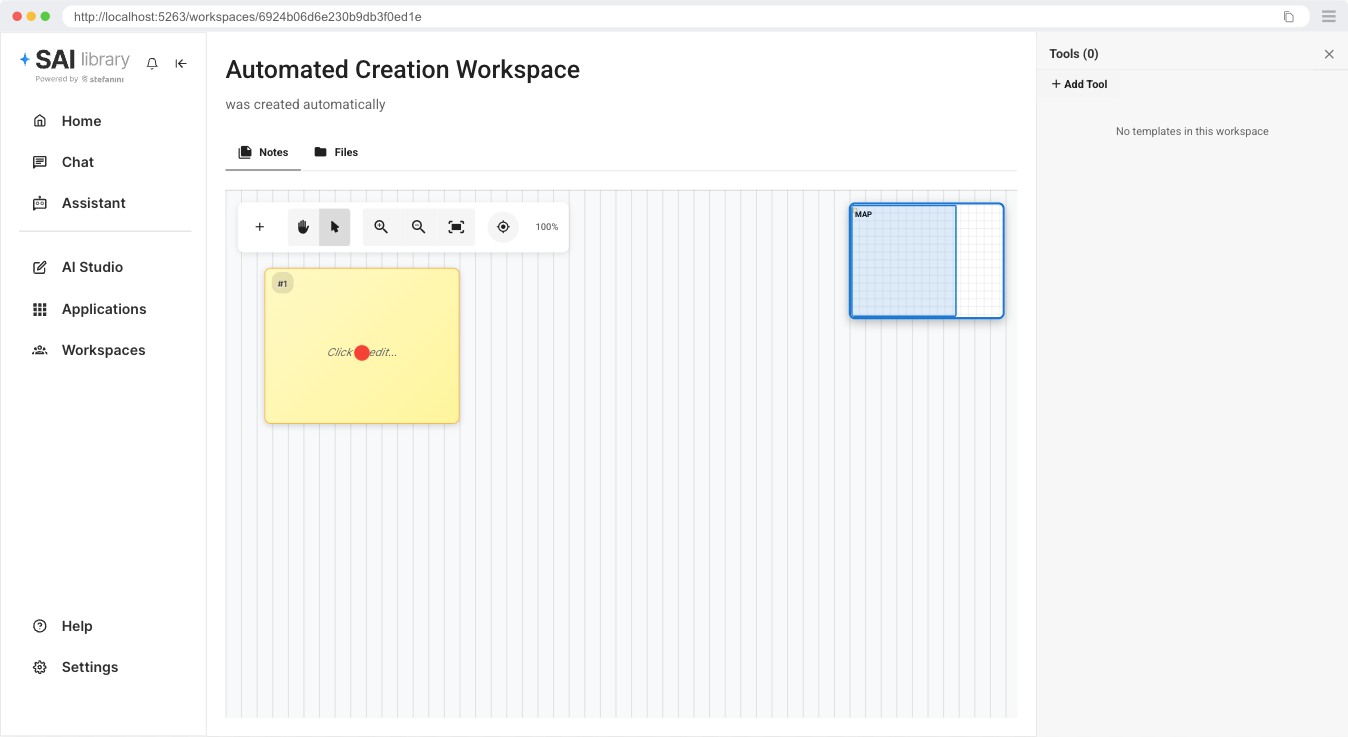
You will see that a new note will be created. Click on the note to edit.
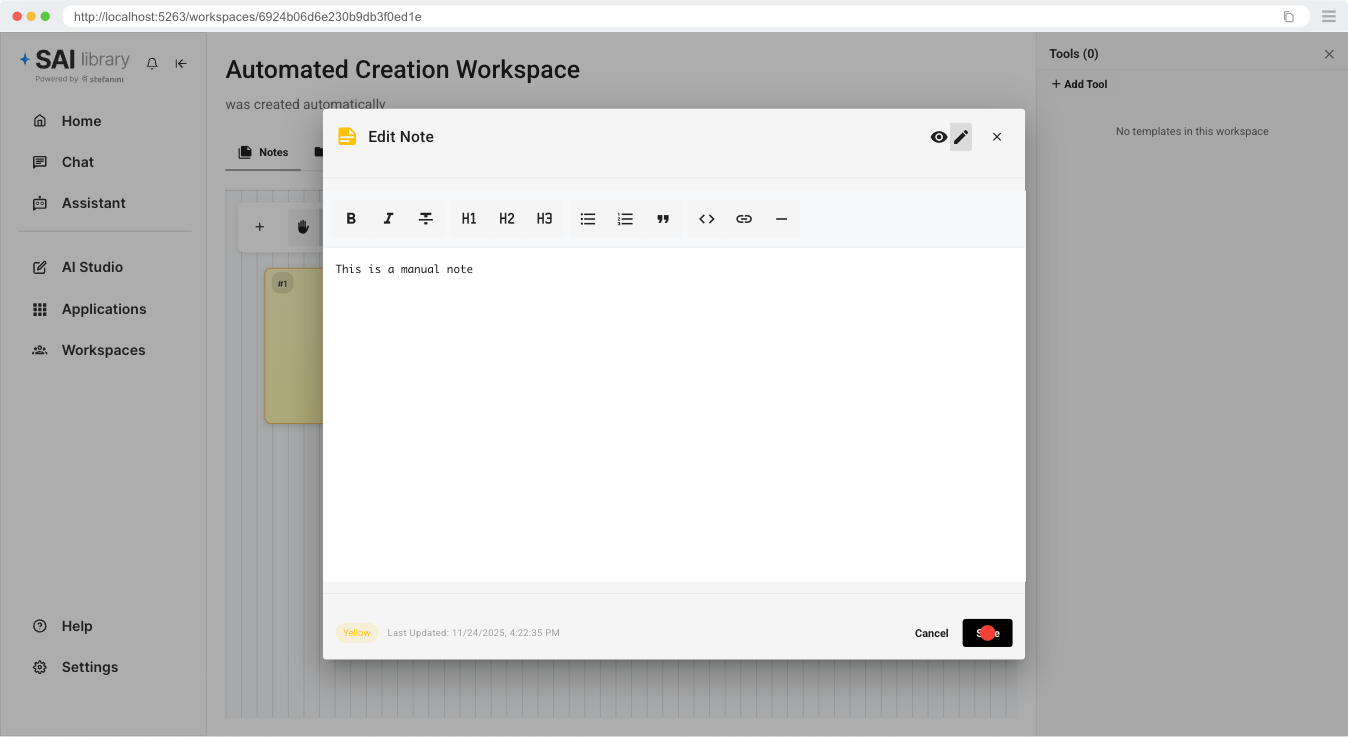
Once you click to edit, you will see a note editor where you can write your text and save it.
You will see this result.
Managing Files
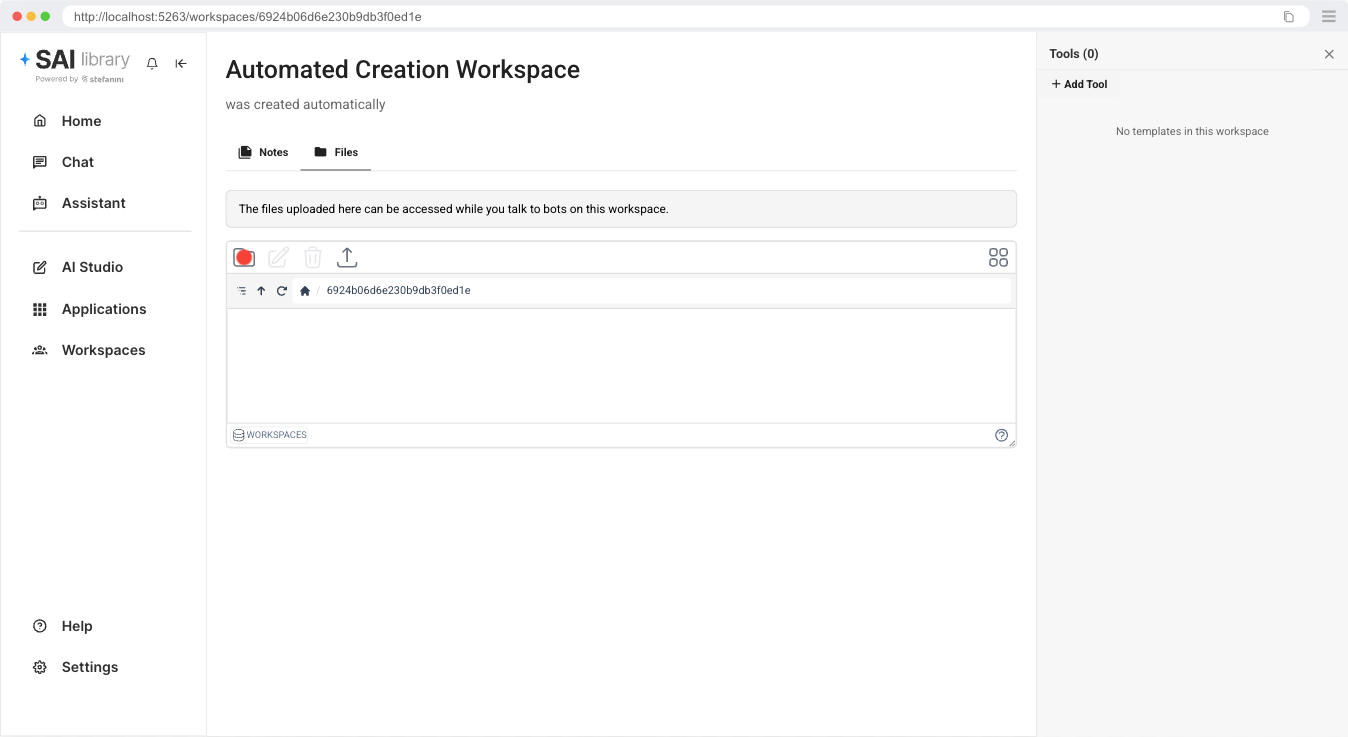
To manage files you must click on the Files tab on the top menu, and you will see the following screen.

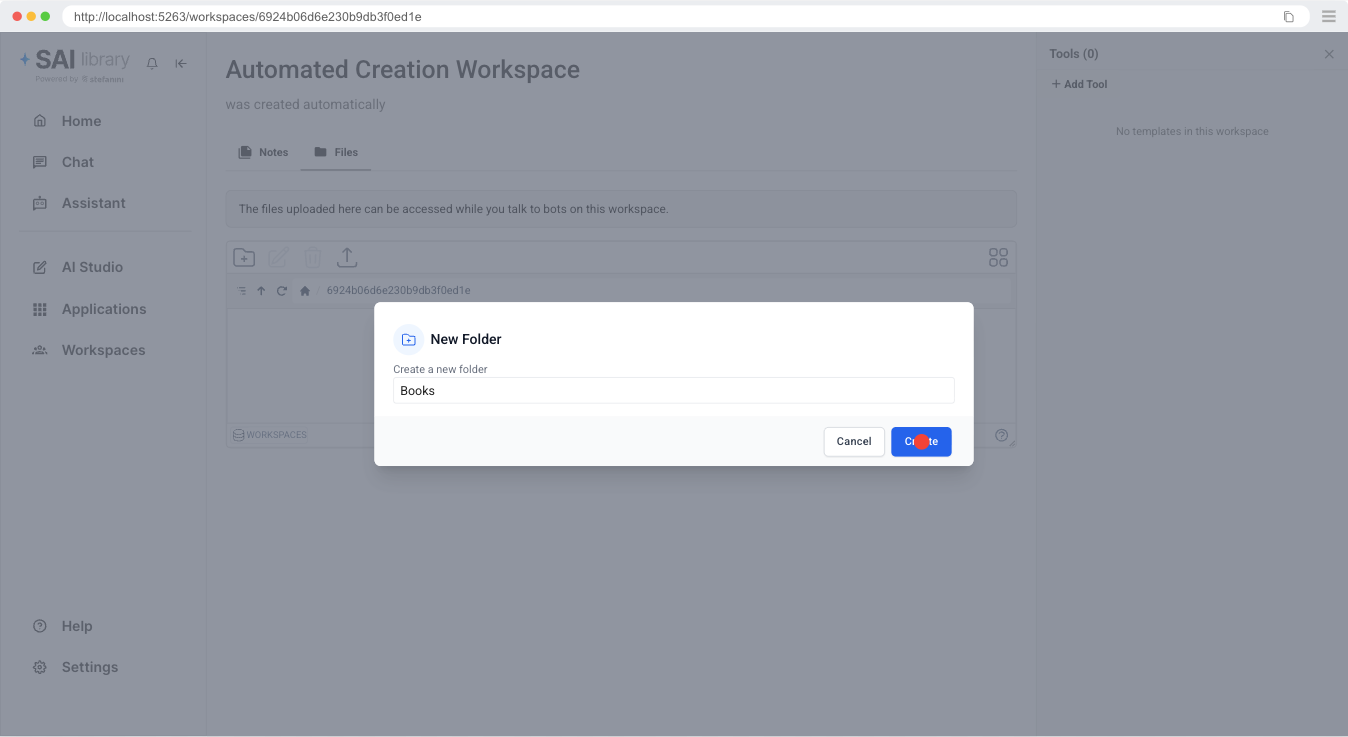
Now, you can create a new folder by clicking on the folder icon that has a + sign in the middle.
Then you fill the name of the folder and hit create.
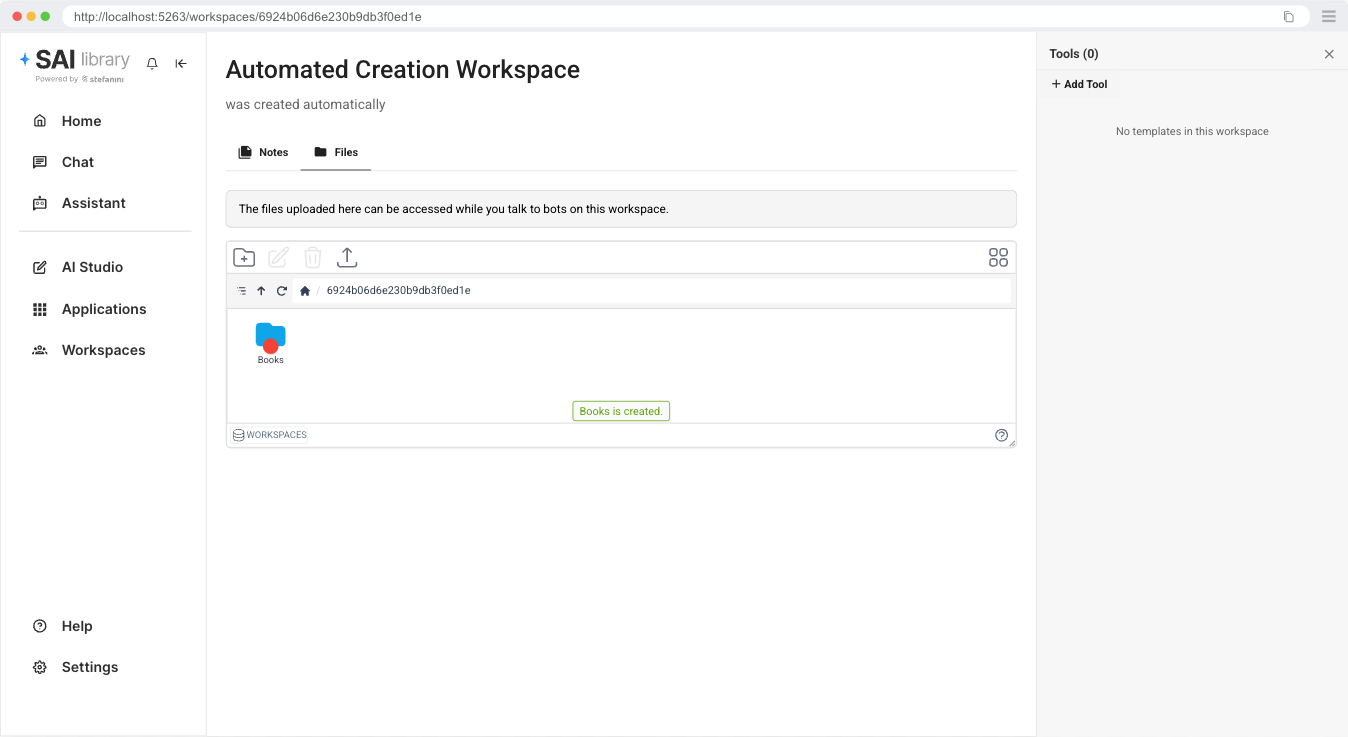
The outcome will be the following.
You can also upload file by clicking on the arrow up sign.

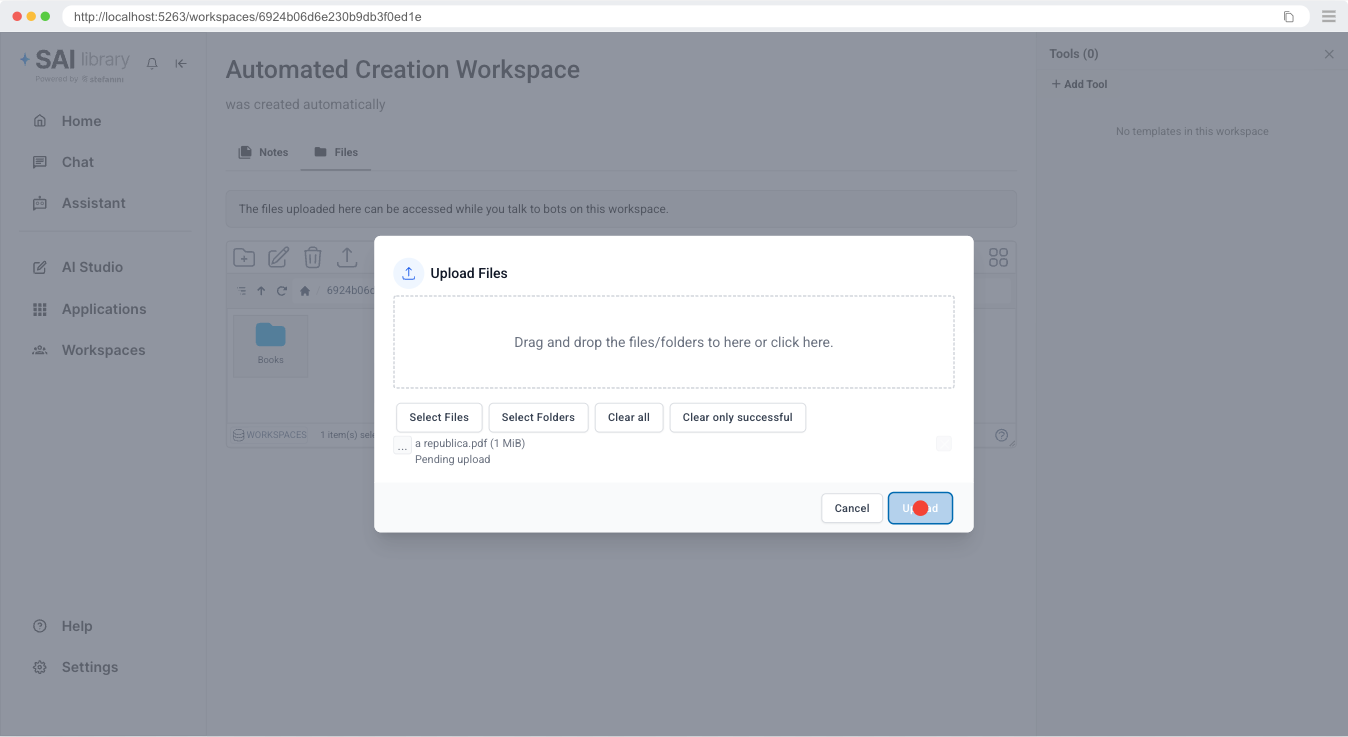
Then this file selector will open and you can click on Select Files and choose the files you want.
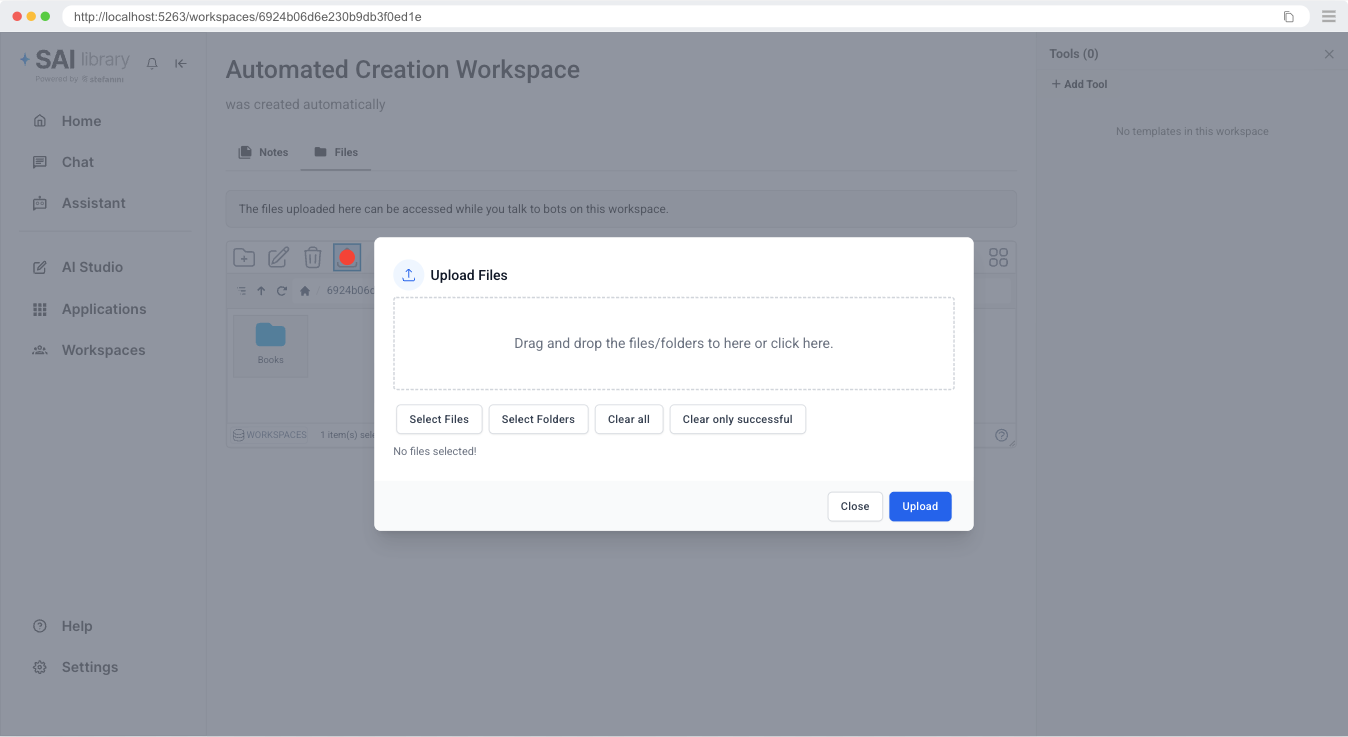
After selecting the files you can click on Upload, and after the upload you can click on Close.
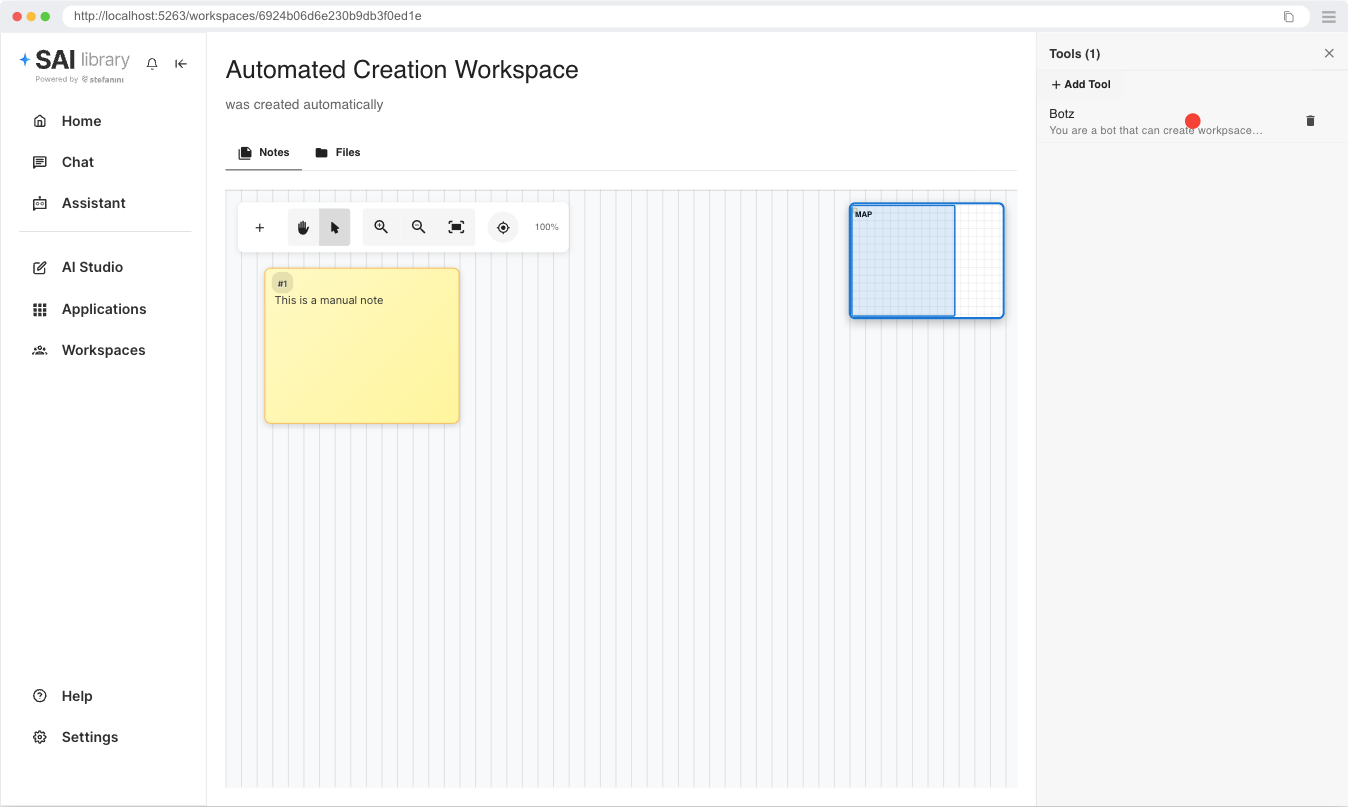
You will end up with this result.

Using Tools
Click on the tool that you want to use, in this case "Botz"
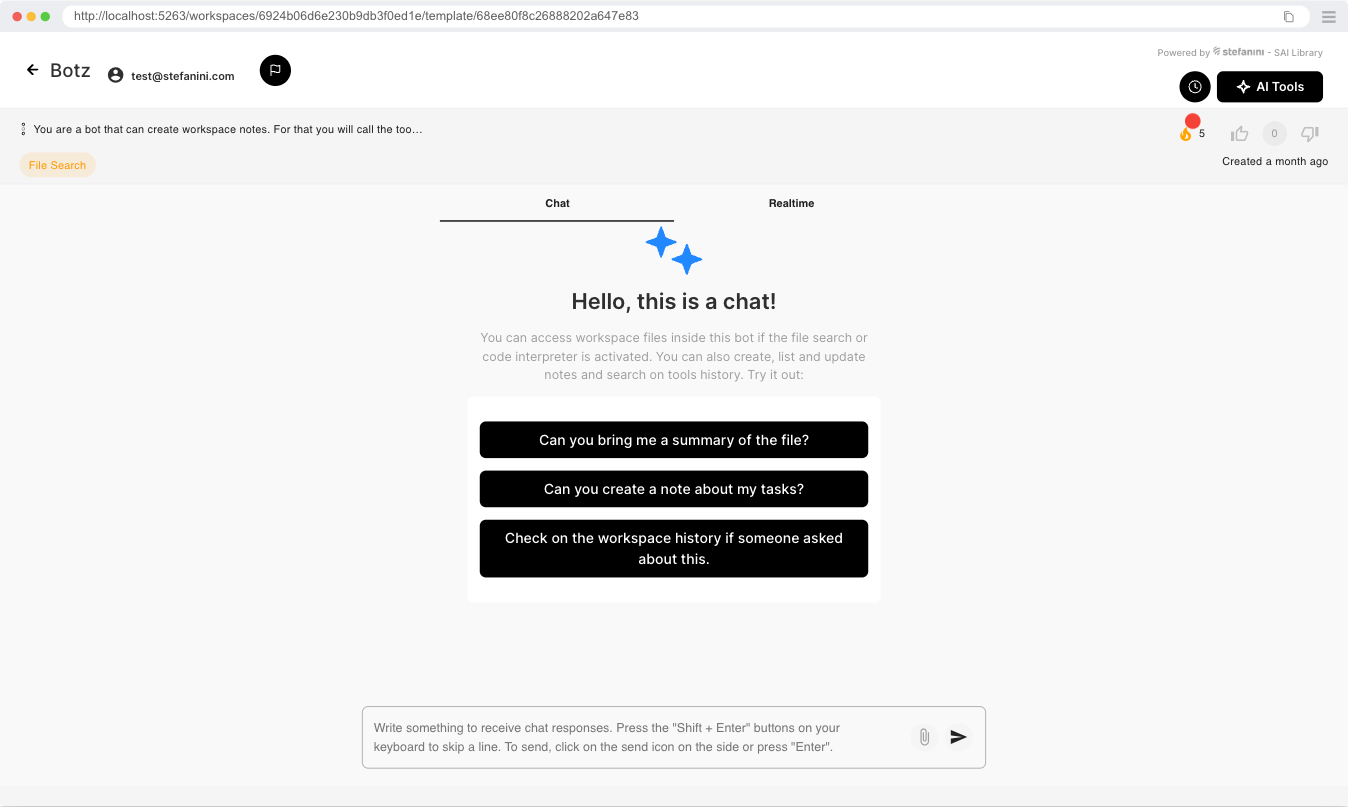
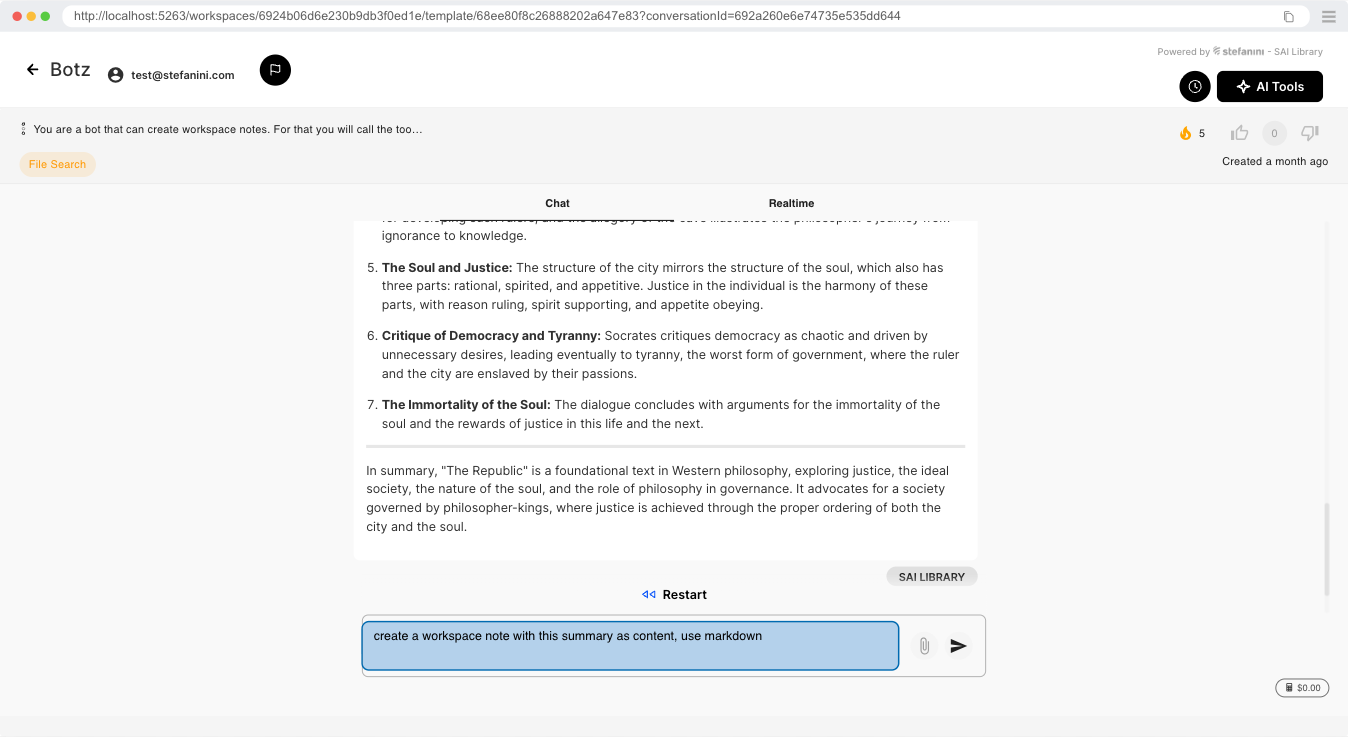
You can access the files uploaded on the workspace if you ask a bot for example.

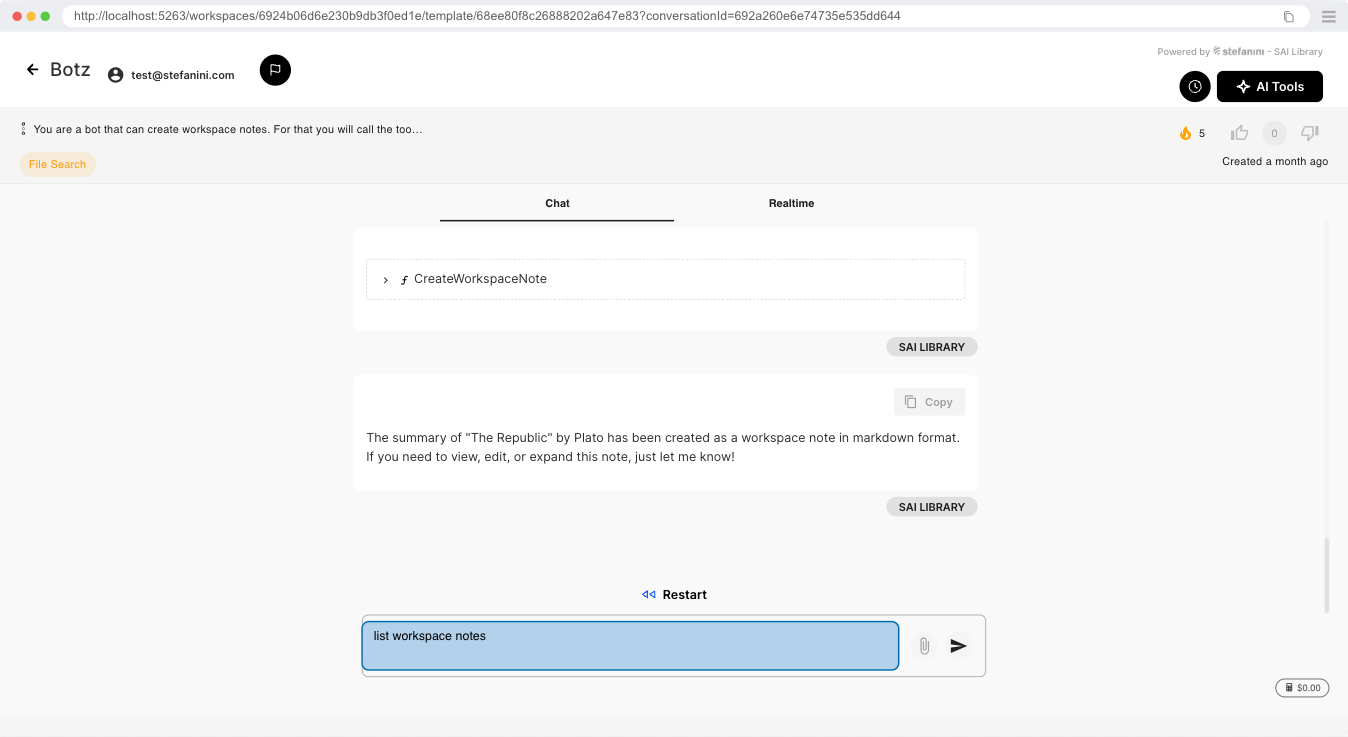
With that you will receive information about the file you asked, and you can for example create a note of the result
You can also ask the bot to list the notes you have on the workspace

You can also ask the bot to show the full content of a specific note, and it will retrieve for you.
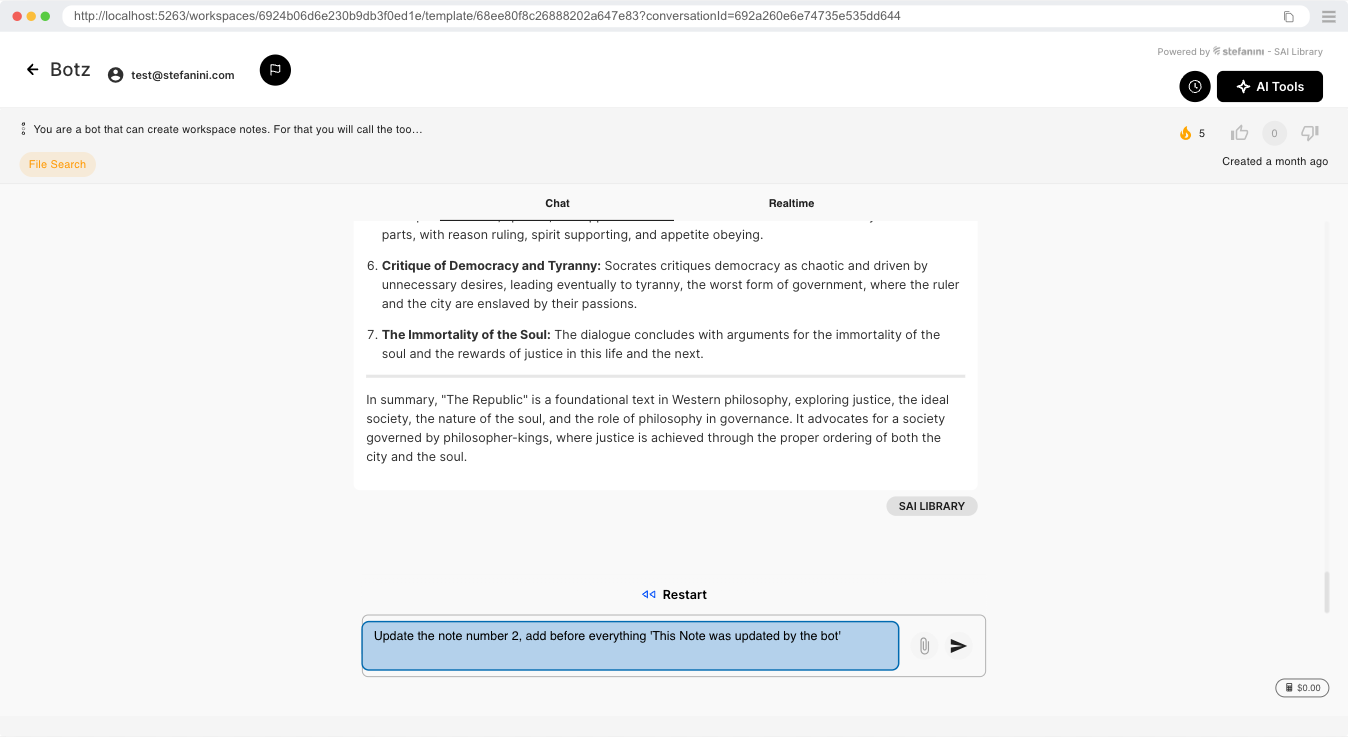
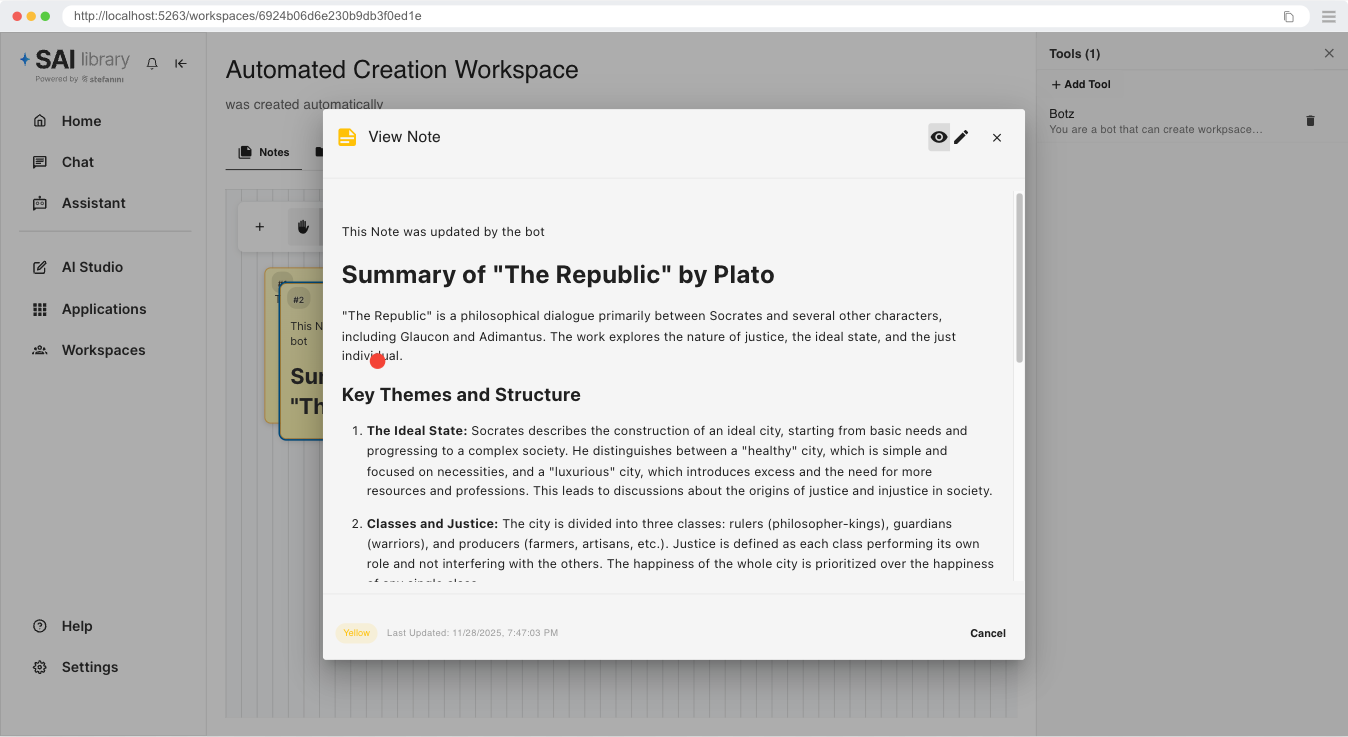
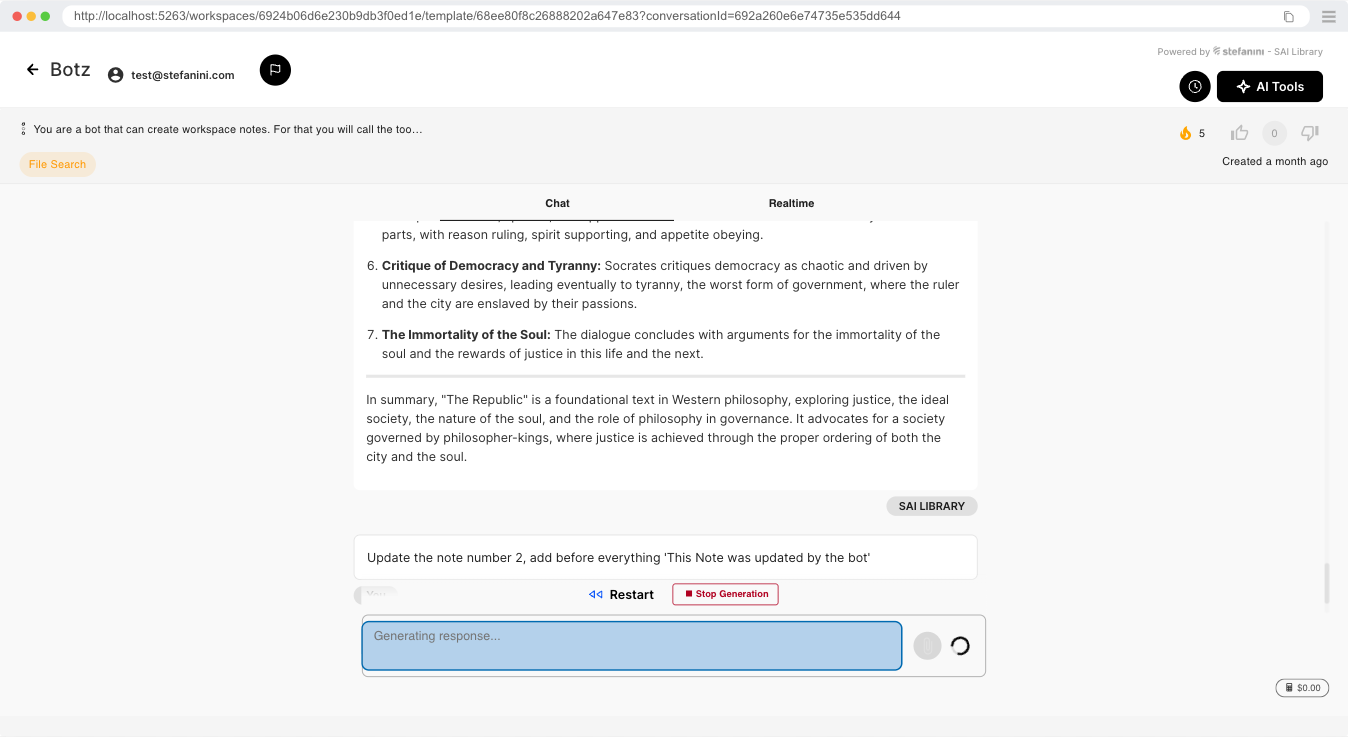
If you ask the bot to update a note, it can also do it.
If we go back to the main page of the workspace, we can see that the note is there, and the content is updated.