Image
Introduction
The Image Creation feature allows users to design new tools with custom configurations and descriptions. This is valuable for businesses looking to streamline processes by creating tailored tools to meet specific needs. By using this feature, users can enhance productivity and ensure that tools are precisely aligned with their workflow requirements.
Getting Started
To begin using this feature, navigate to the URL: https://sai-library.saiapplications.com/designer. Ensure you have access to the tool creation page, where you can start by adding a new tool. Make sure your browser is set up to access local servers.
Procedure
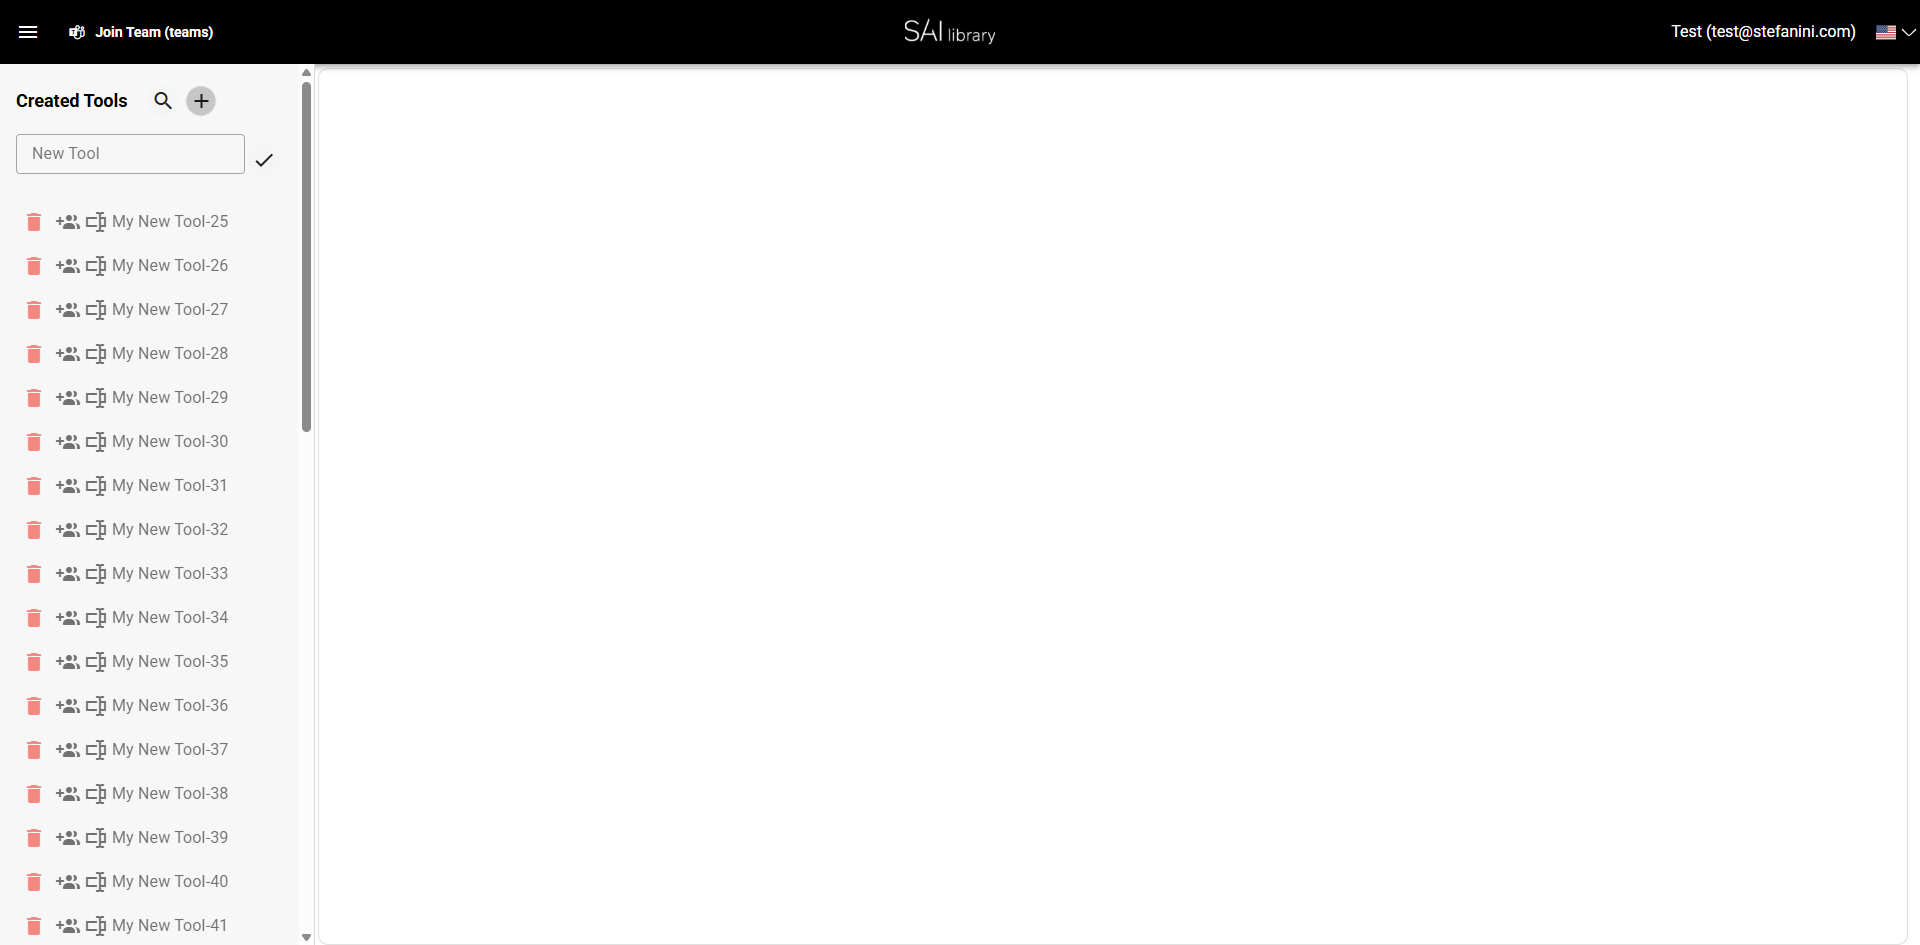
Step 1: Access the New Tool Option
-
Action: Click on the New Tool button.
-
UI Element: Add-new-tool button next to "Created Tools."
-
Purpose: This initiates the process of creating a new tool.
-
Outcome: A text input field appears for entering the tool name.
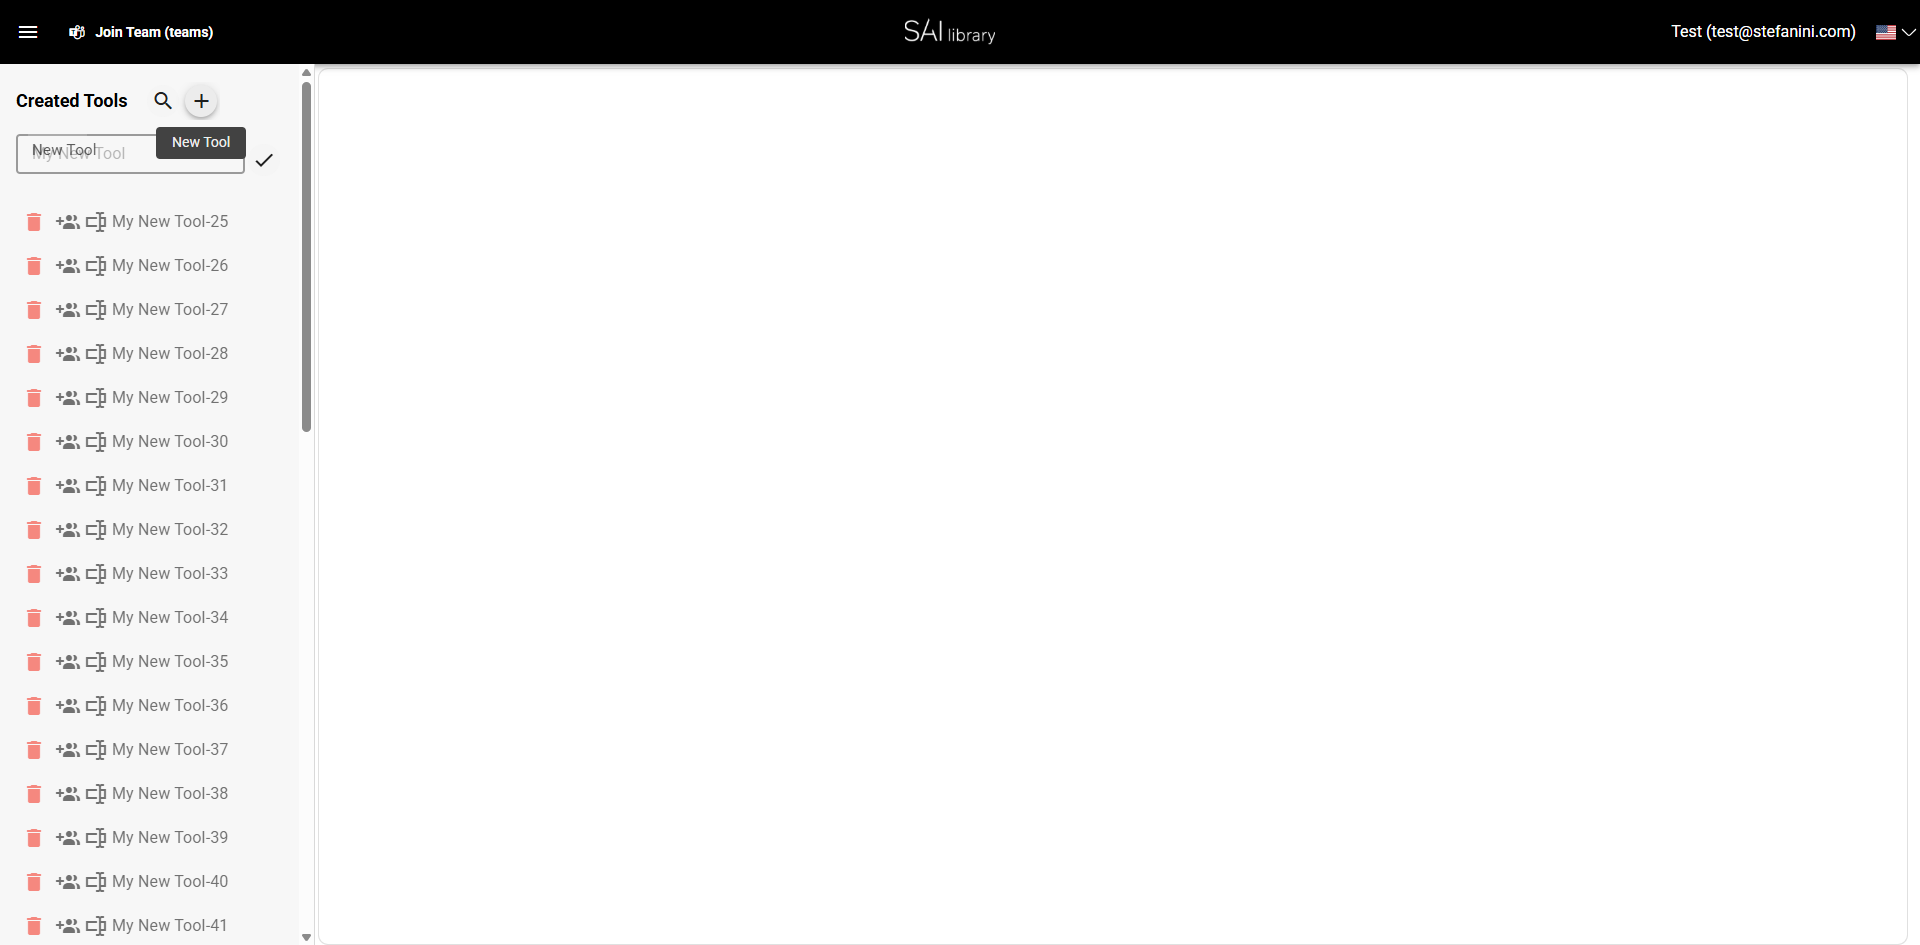
Step 2: Enter Tool Name
-
Action: Type "My New Tool" in the text input field.
-
UI Element: The visible text input field.
-
Purpose: Naming your tool helps in identifying it later.
-
Outcome: The name "My New Tool" is displayed in the input field.
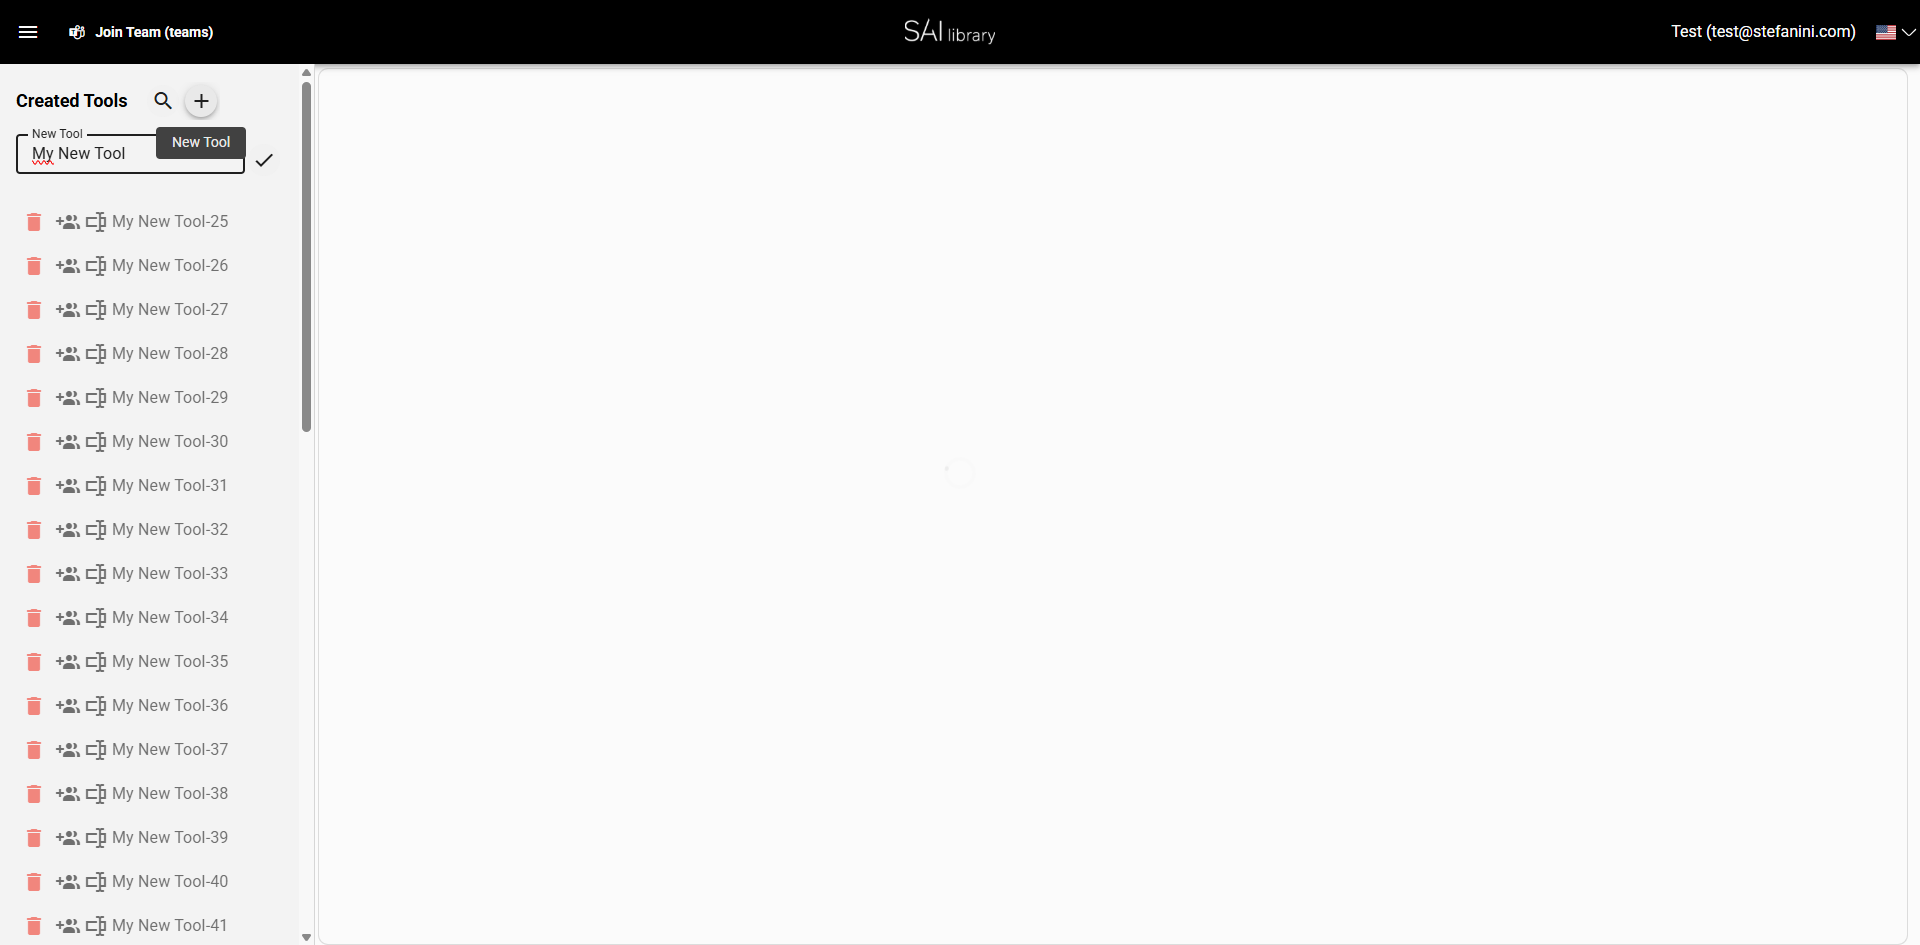
Step 3: Confirm Name
-
Action: Click the confirm button.
-
UI Element: Confirm button next to the name field.
-
Purpose: Confirms the tool name entry.
-
Outcome: The tool name is saved, and you proceed to the next step.
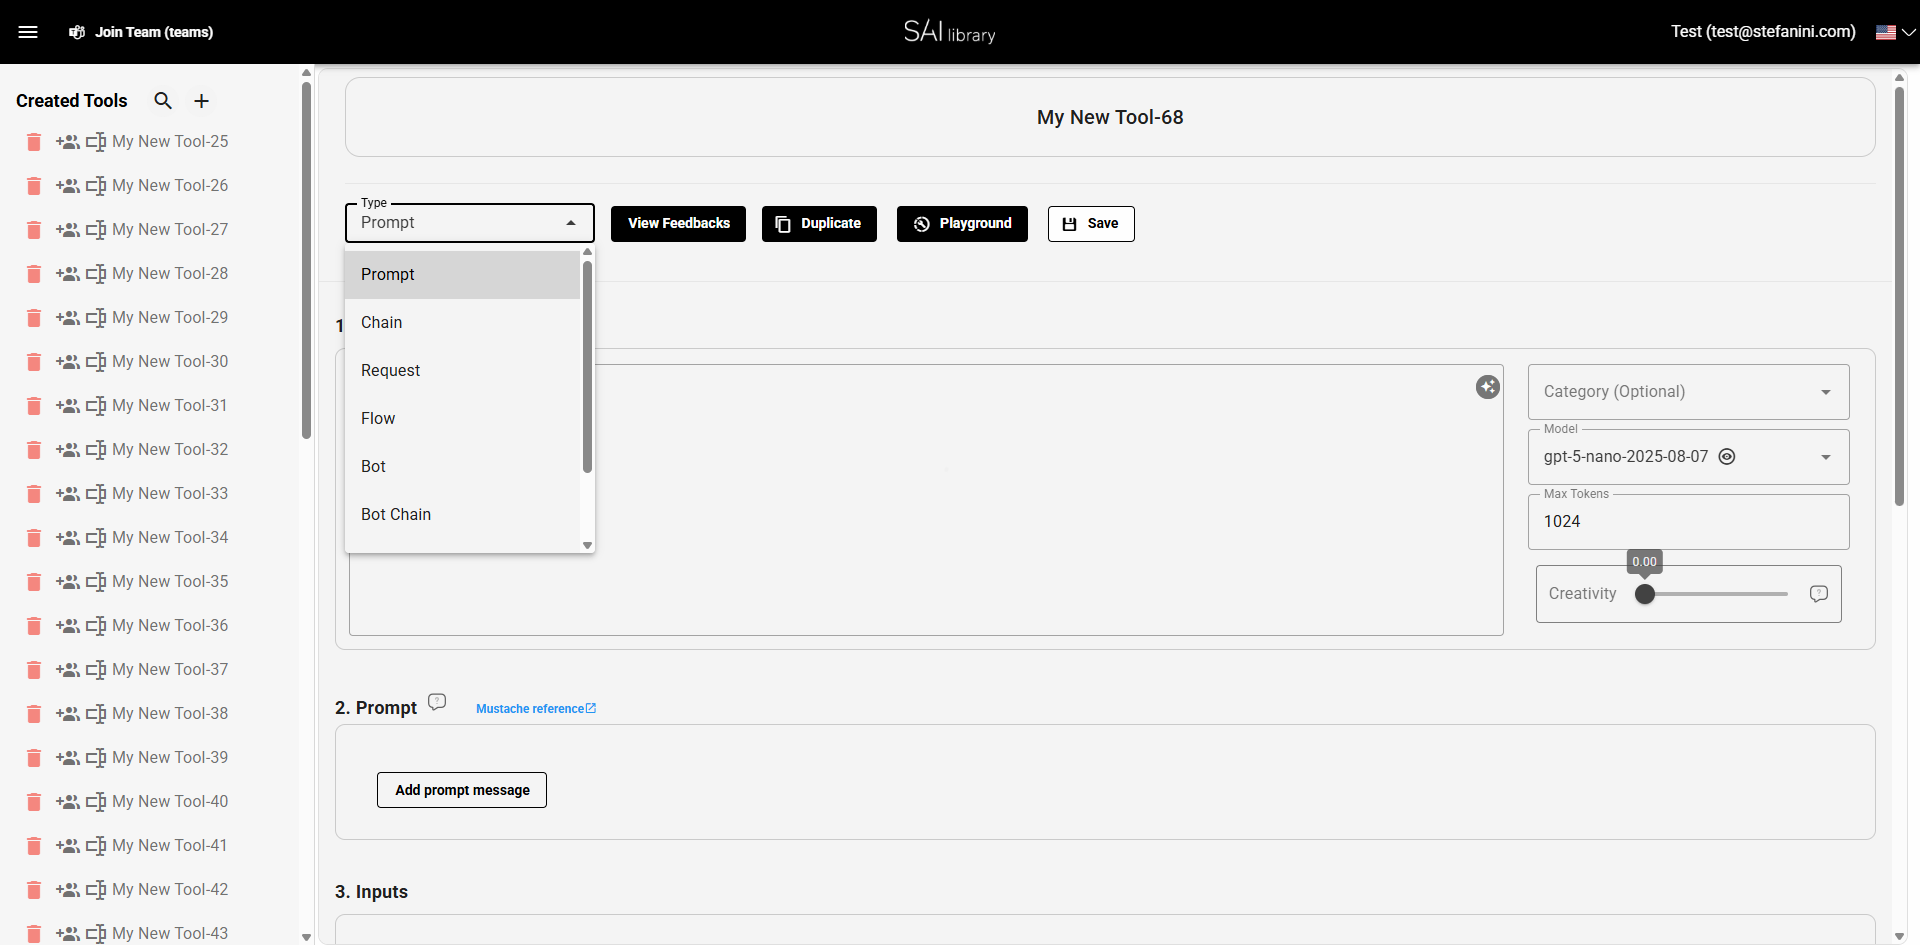
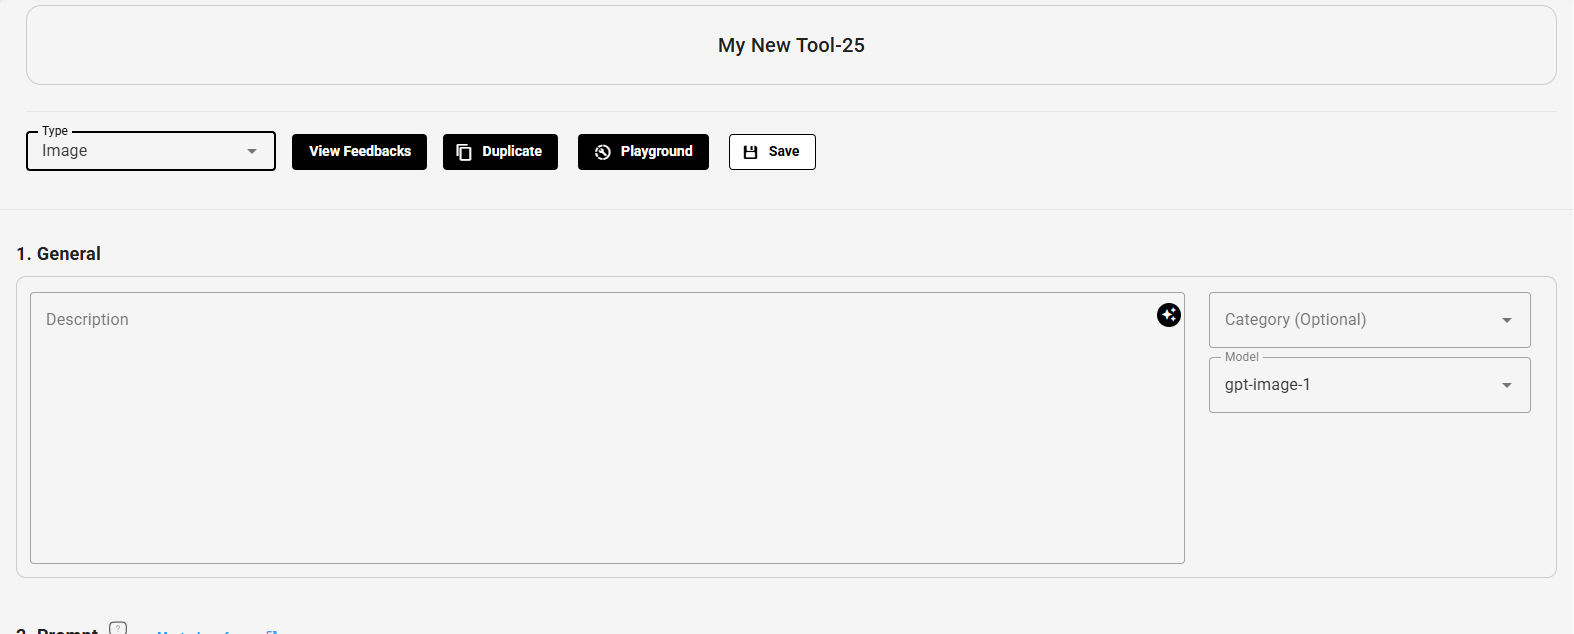
Step 4: Select Template Type
-
Action: Click on the select
typeand select the option "Image". -
UI Element: Dropdown menu for template type.
-
Purpose: Sets the template type to "Image" for your tool.
-
Outcome: "Image" is selected as the template type.
Step 5: Add Description
-
Action: Type "This is a test description" in the Description field.
-
UI Element: Description text area.
-
Purpose: Provides a brief description of the tool's purpose.
-
Outcome: The description is added to the tool details.
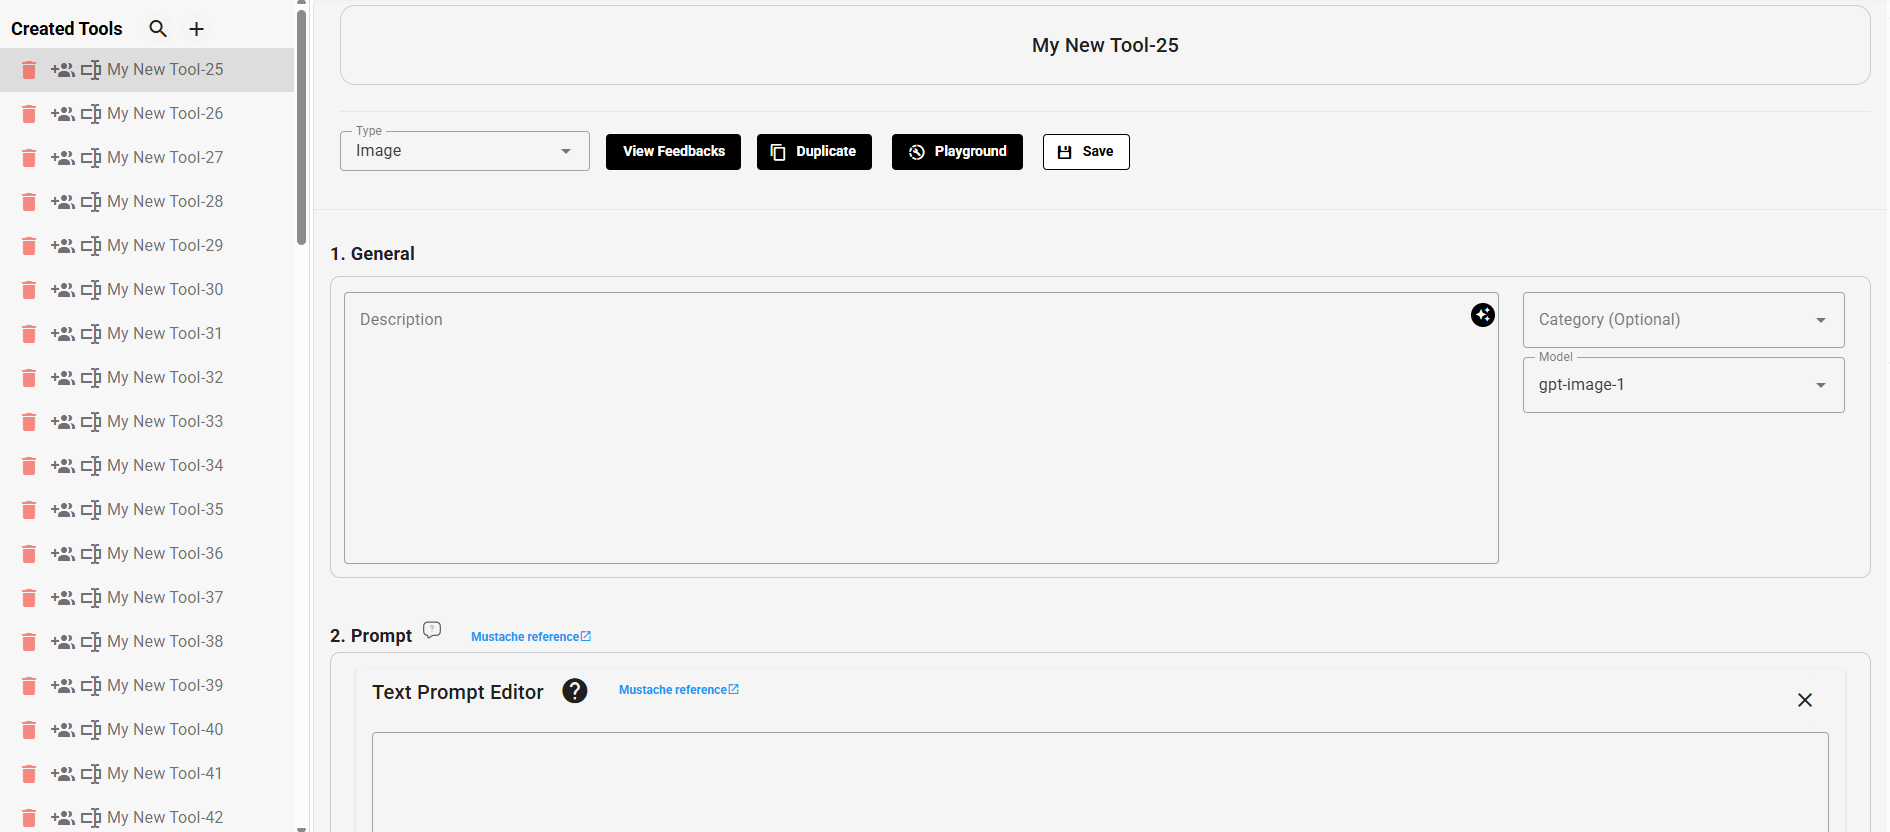
Step 6: Review General Section
-
Action: Review the General section for any additional configurations.
-
Fields:
- Description: Field for entering a detailed description.
- Model: Dropdown for selecting the model type.
- Max Tokens: Input for setting the maximum number of tokens.
- Creativity: Slider to adjust creativity level.
-
Purpose: Ensures all necessary configurations are set.
-
Overview: Provides a layout of the general settings for your tool.
Step 7: Configure Prompt Section
-
Action: Configure prompts if needed by adding prompt messages.
-
Fields:
- Role: Dropdown to select the role of the prompt.
- Content: Text area for entering prompt content.
- Add prompt message: Button to add more prompts.
-
Purpose: Allows customization of prompts used by the tool.
-
Overview: Displays prompt settings and configuration options.
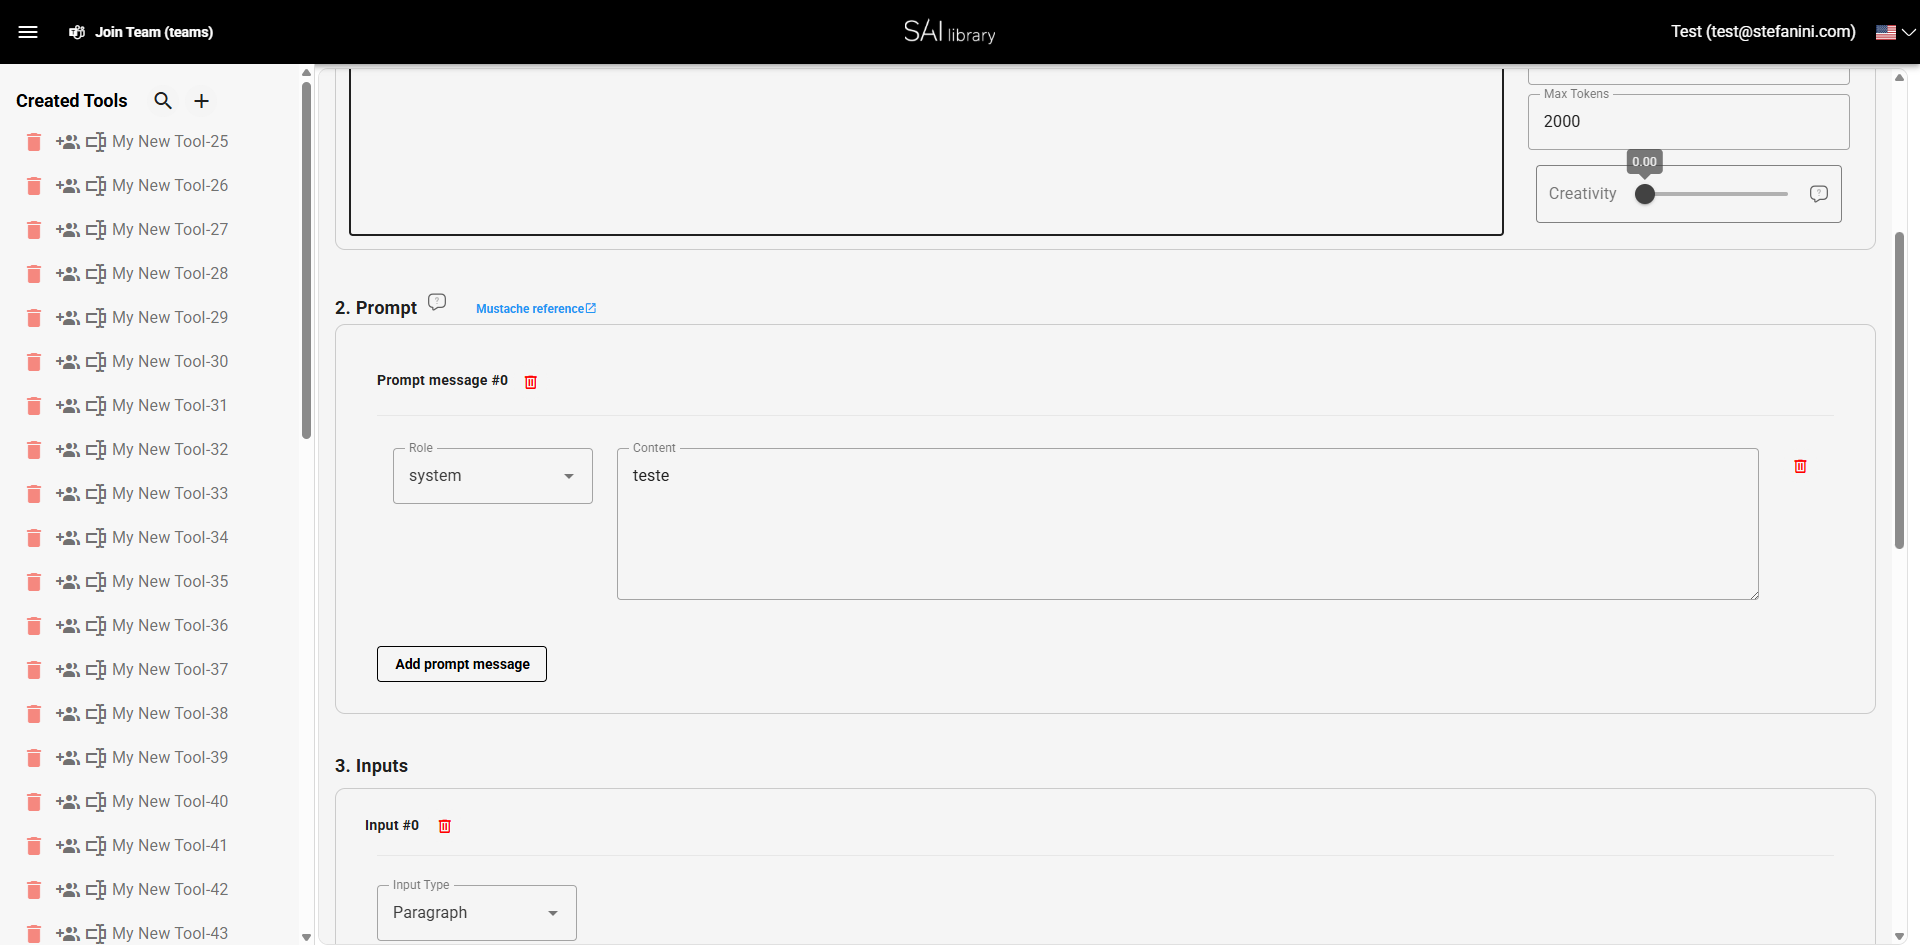
Step 8: Define Inputs Section
-
Action: Define input fields required by your tool.
-
Fields:
- Input Type: Dropdown to select the type of input (e.g., Paragraph).
- Display Name: Field for the input's display name.
- Hint: Field for entering hints or default values.
- Optional: Checkbox to mark if input is optional.
- Image Input: Checkbox to allow image input.
-
Purpose: Specifies what inputs the tool will accept.
-
Overview: Overview of input settings and configurations.
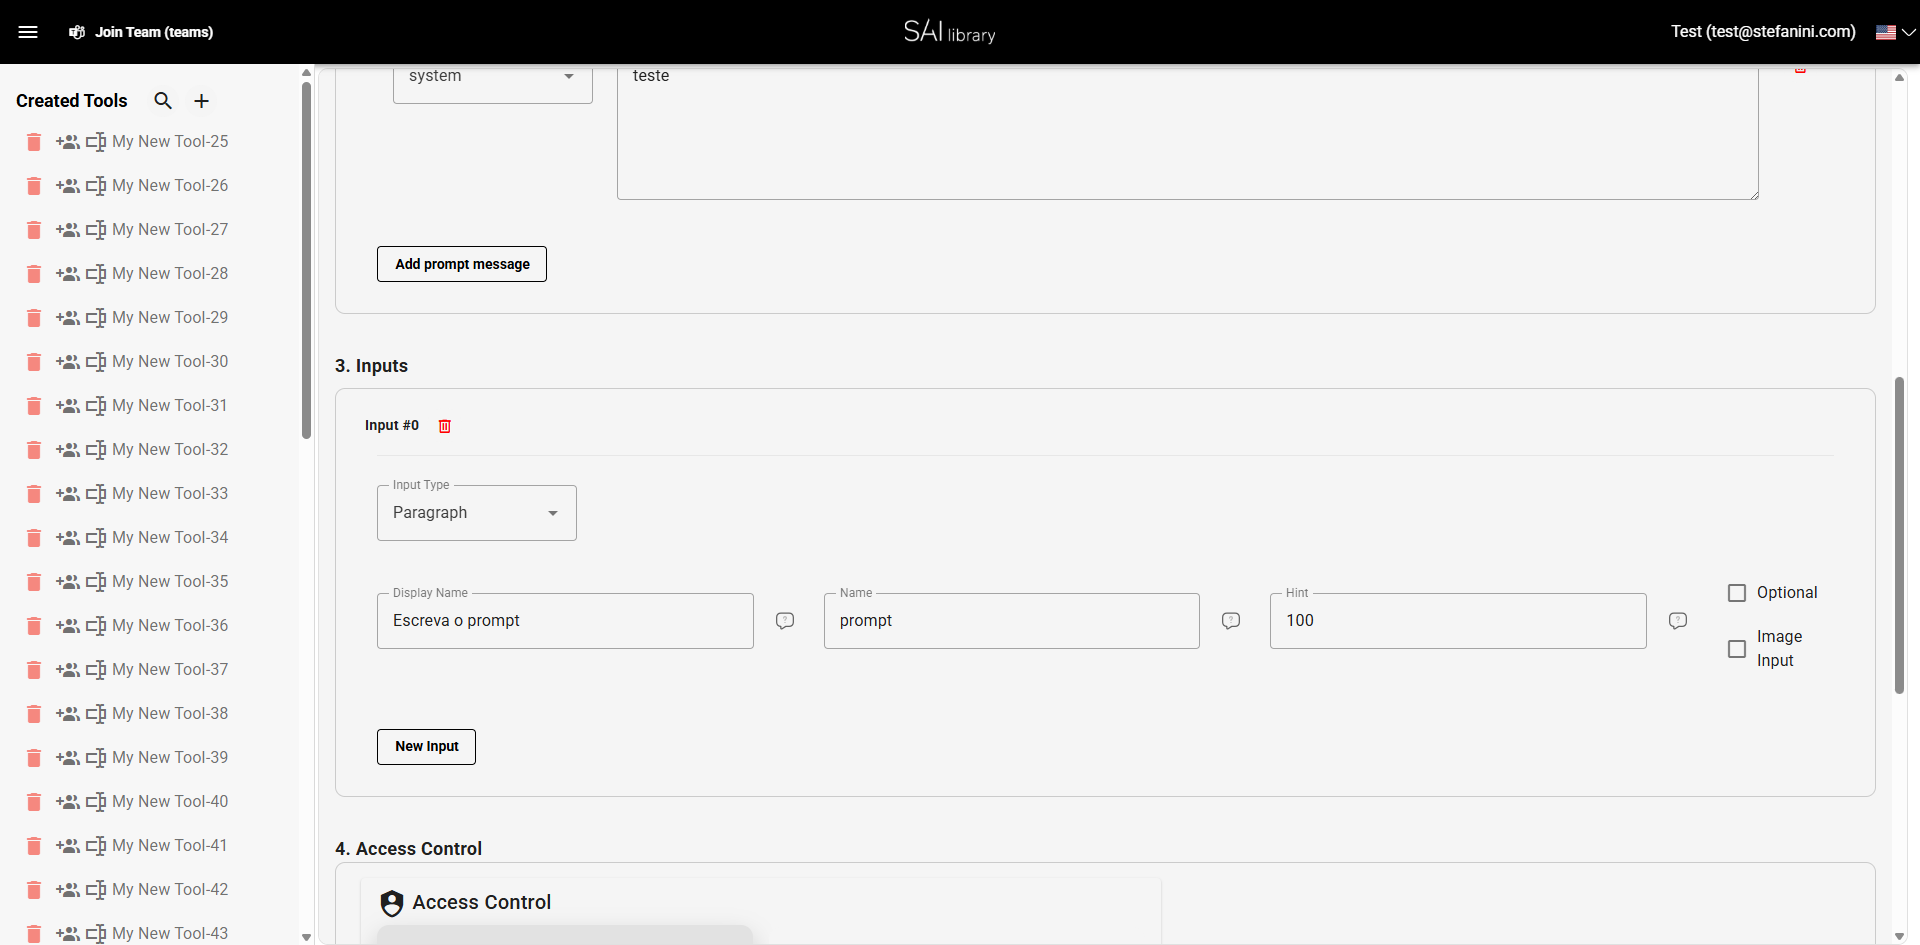
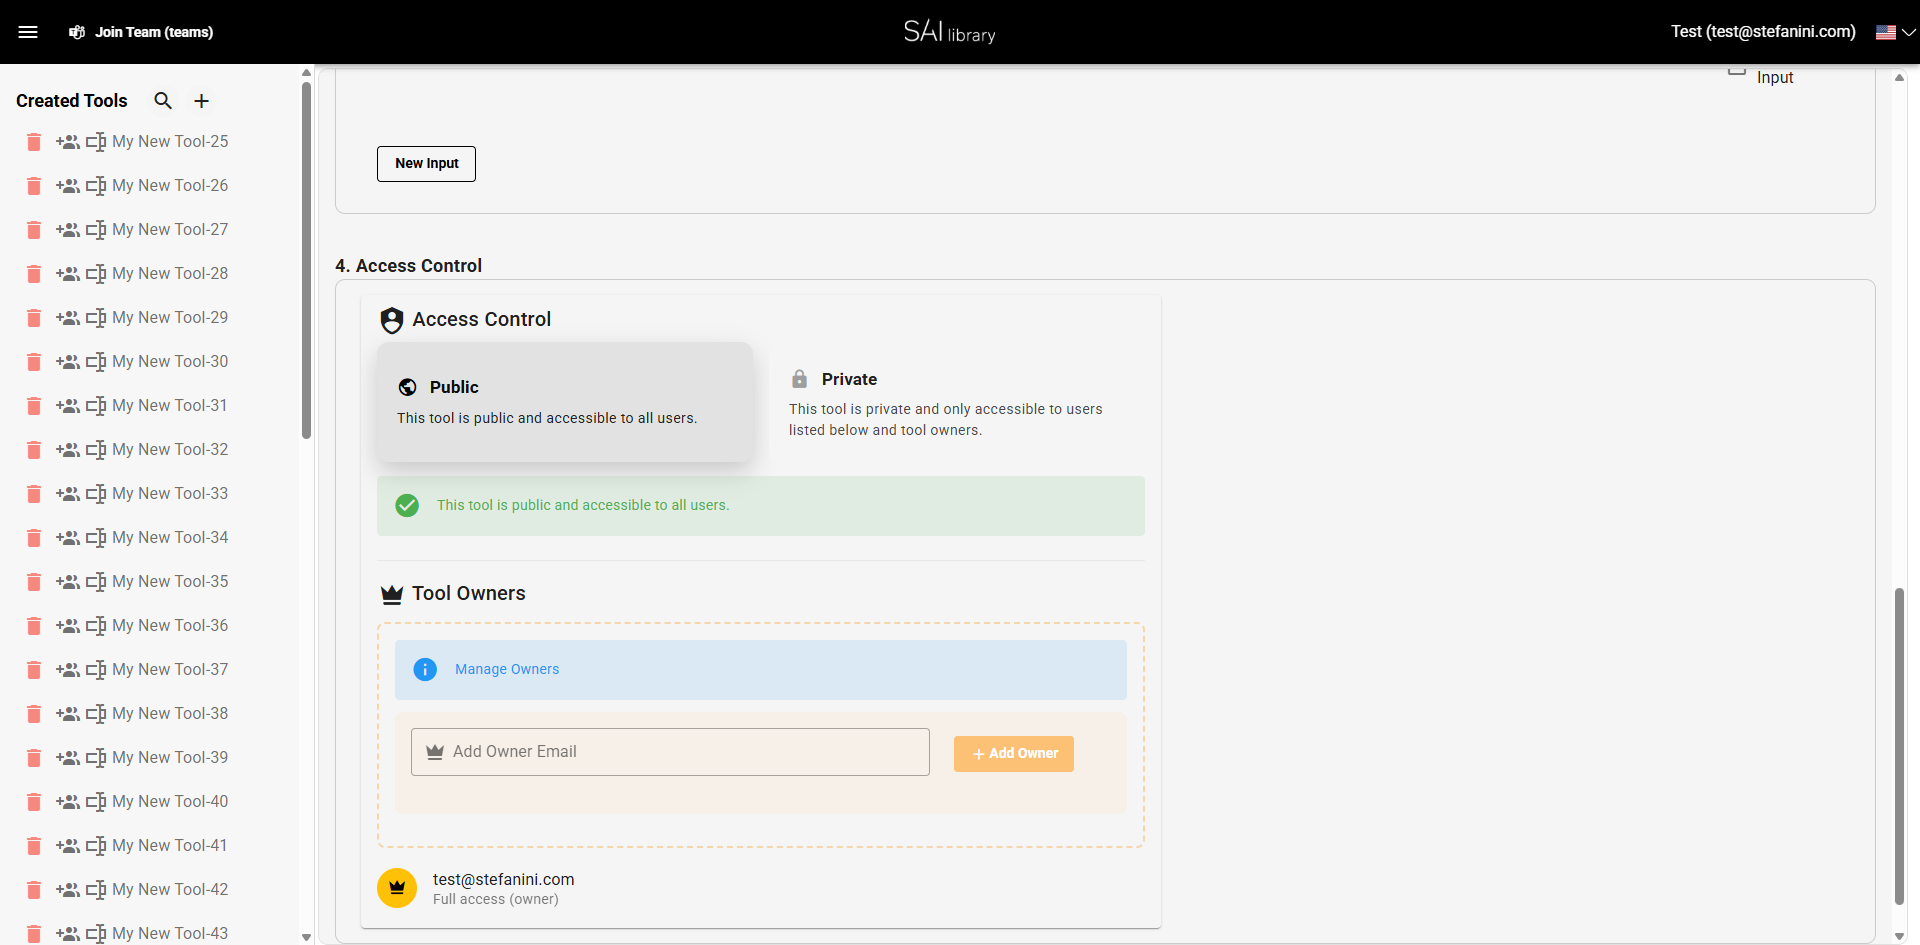
Step 9: Set Up Access Control Section
-
Action: Configure who can access the tool.
-
Fields:
- Public/Private: Toggle to set the tool's access level.
- Tool Owners: Section to manage tool owners.
- Add Owner Email: Field to add new owners.
-
Purpose: Controls tool accessibility and ownership.
-
Overview: Displays access control settings.
Result
Upon completing these steps, you have successfully created a new tool named "My New Tool" with an image template and a detailed description. You have configured its prompts, inputs, and access control settings. The tool is now ready for use and accessible as per the defined access settings.